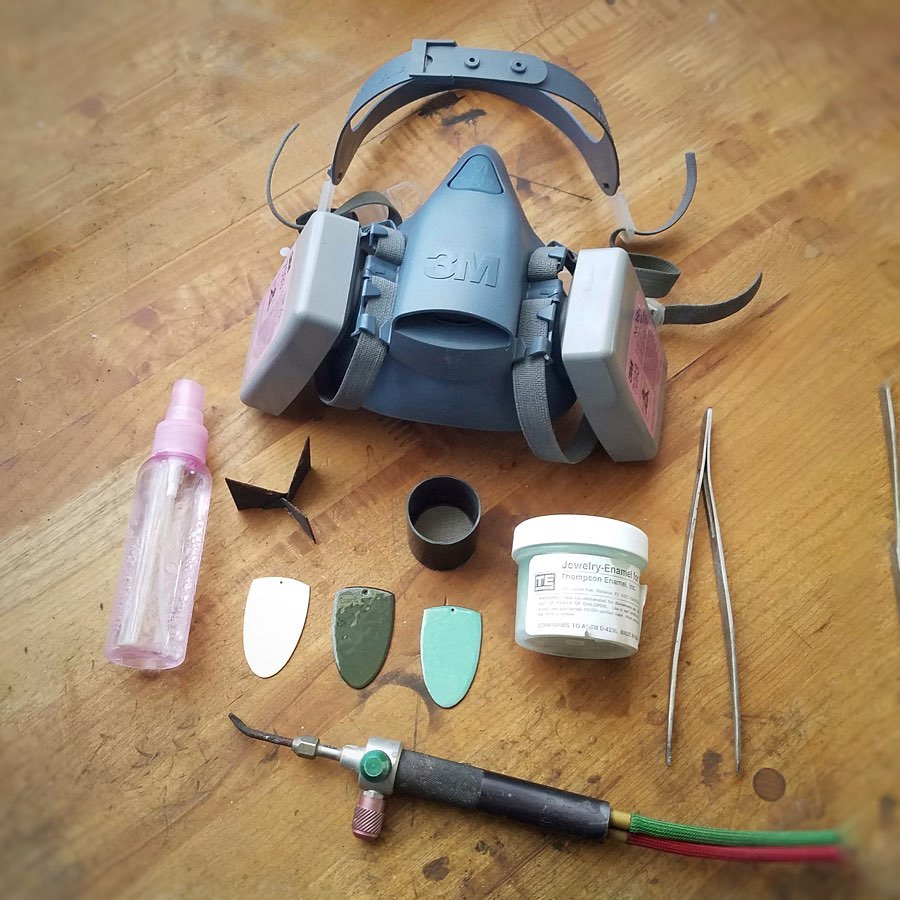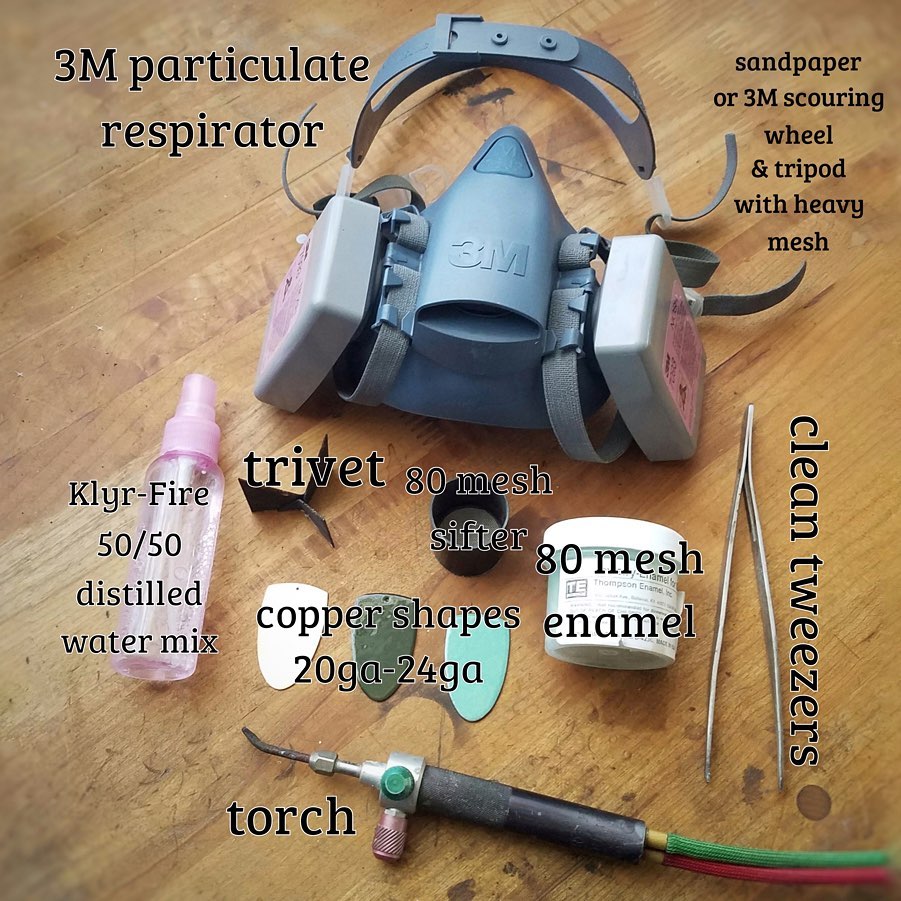

Here are the basics of torch firing enamel from @jessjewelry - “Let's talk Torch fire enamel!
This method uses copper shapes covered in granules of glass enamel powder. The powdered enamels are sifted onto the copper like sifting powdered sugar onto a dessert. (but definitely don't ingest glass enamel. That's bad.) It’s fired using a trivet (steel holder that only touches the edges of the copper) which is placed on a tripod with heavy mesh and using a torch from beneath. I have a Smith mini but you can use an disposable acetylene tank torch or oxy acetylene set up (or something similar. A creme brulee torch isn't going to cut it but a sterno torch with refillable canisters will work.) Things to keep in mind:
1. you need very clean metal. If there are oils from your fingers on the metal, the enamel gets very unhappy, causes cracking, the enamel to pop off ect.
2. You need even coats on both sides (I do two coats on each.) Too much on one side will cause the enamel to crack. If you dome your copper Klyr-fire can be sprayed or painted on to help adhere the enamel while you sift (dry well before torching.)
3. Remember to do two coats on the BACK FIRST, then front.
Enamel can be simple or complex I recommend the book “The Art of Enameling” by Linda Darty. It has many projects with detailed instructions and great pictures. Enamel supplies can be purchased from Thompson enamel.” Thank you SO much for sharing this info with us and if you are someone who wants more info about enameling new sure to comment on the post, let us know what you want to learn more about!! 😄 #enamel #enameljewelry #howtoenamel