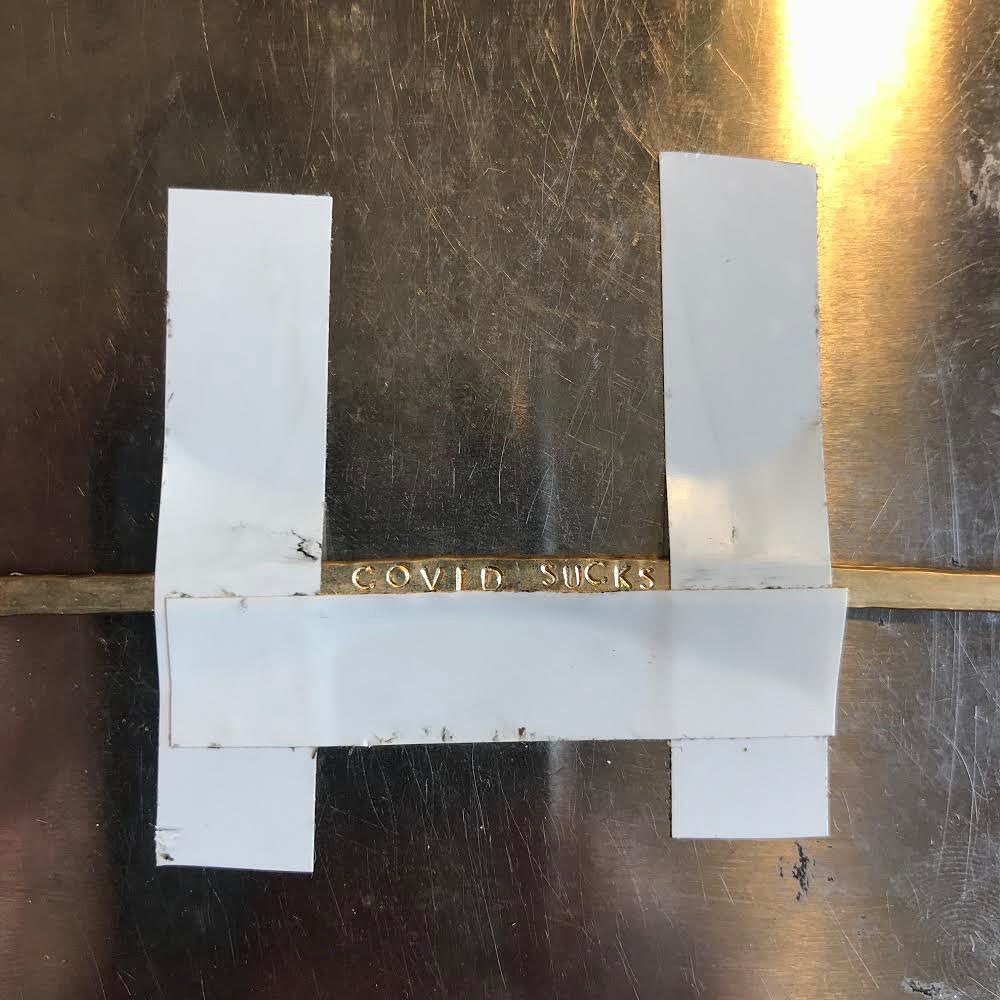
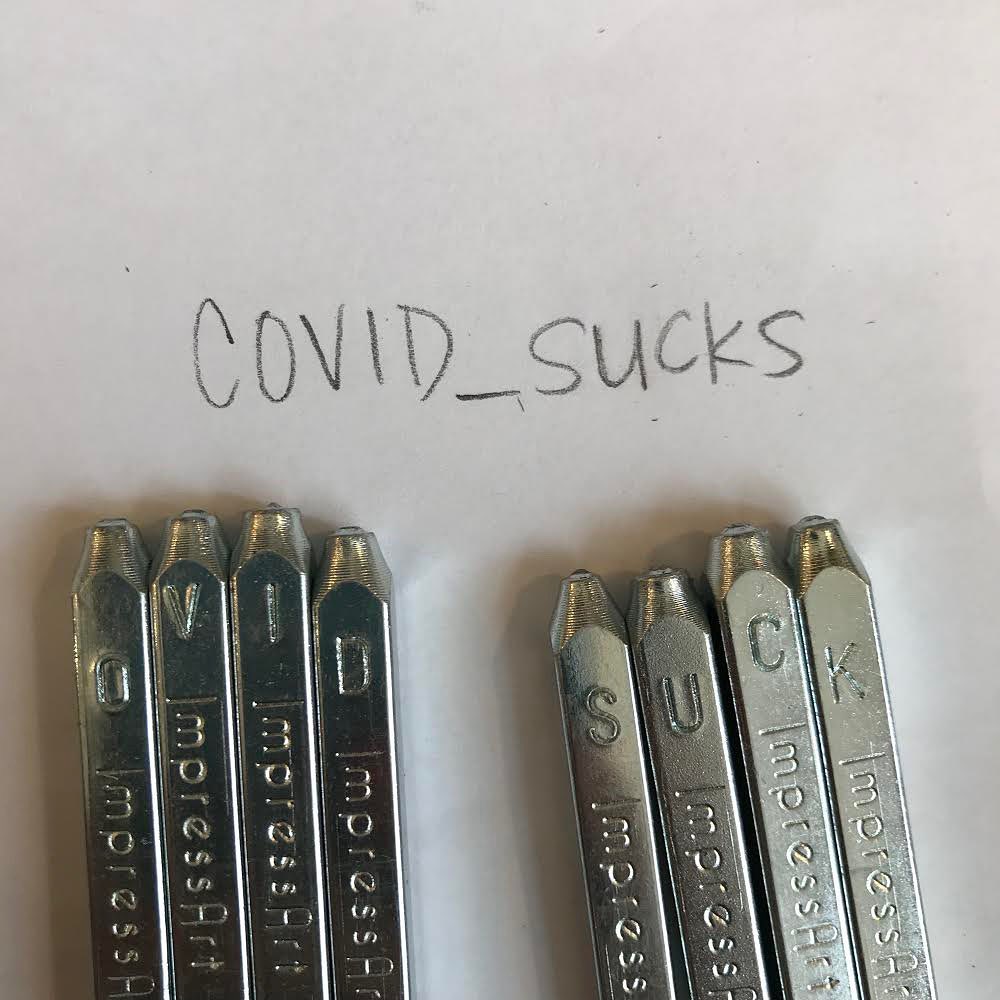
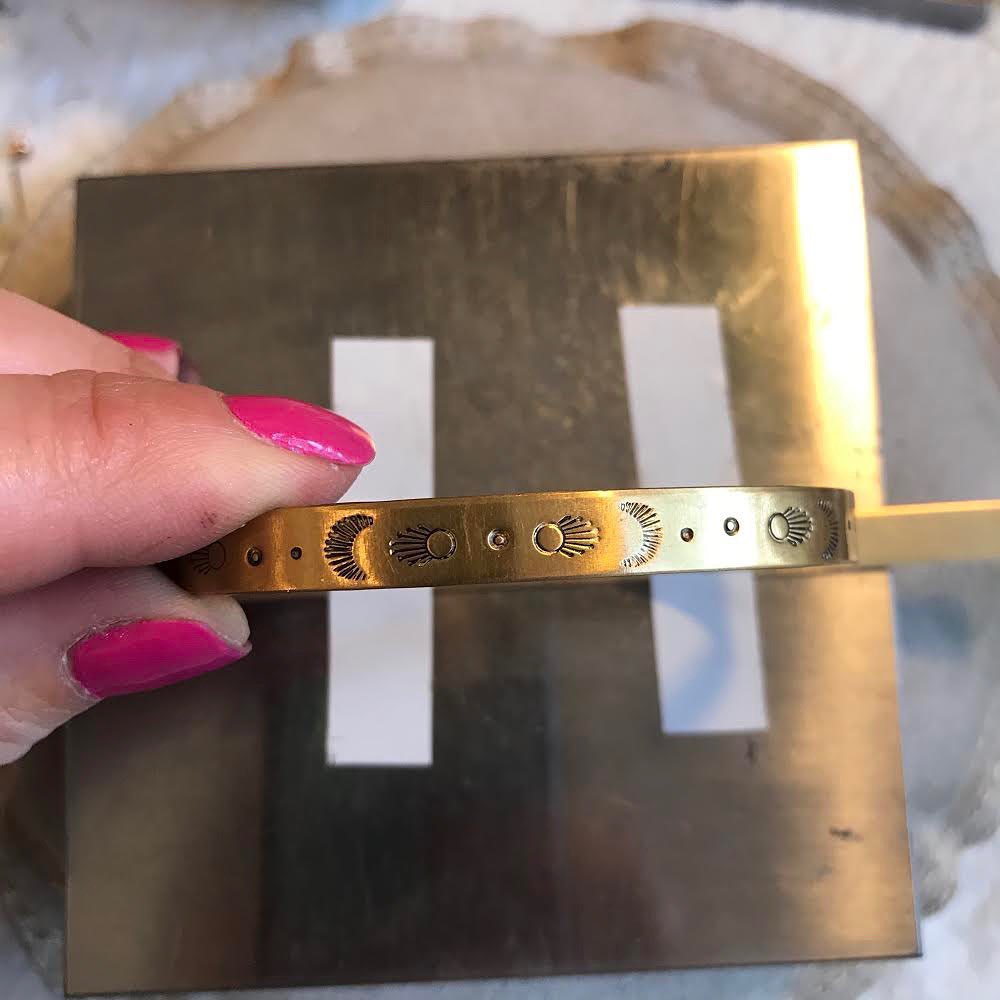
Here are some tips to achieve straighter stamping from @mineralandmine - “When I prep for a stamping project, I write out and measure my pattern on paper, and/or draft my pattern onto the metal. For a quote or words, I write it down, find the middle character (include spaces and punctuation), and start from there. I mark the middle of my metal, in this case a cuff marked with pencil, and stamp to the right first. After completing the right-of-middle characters, I then stamp the left side, from the middle outwards. This ensures that the design is centered, and makes it easier to space the characters equally. Having your words/quote written on paper is really useful here because spelling in reverse is hard
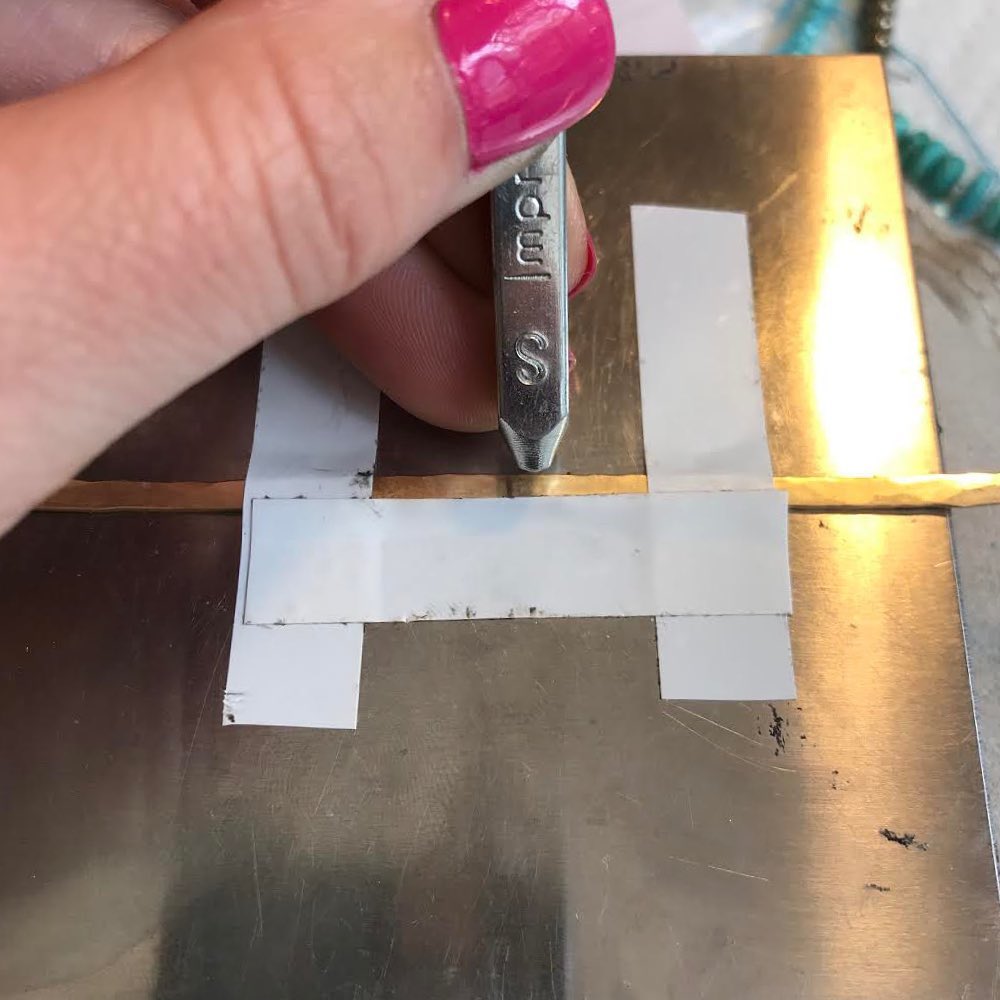
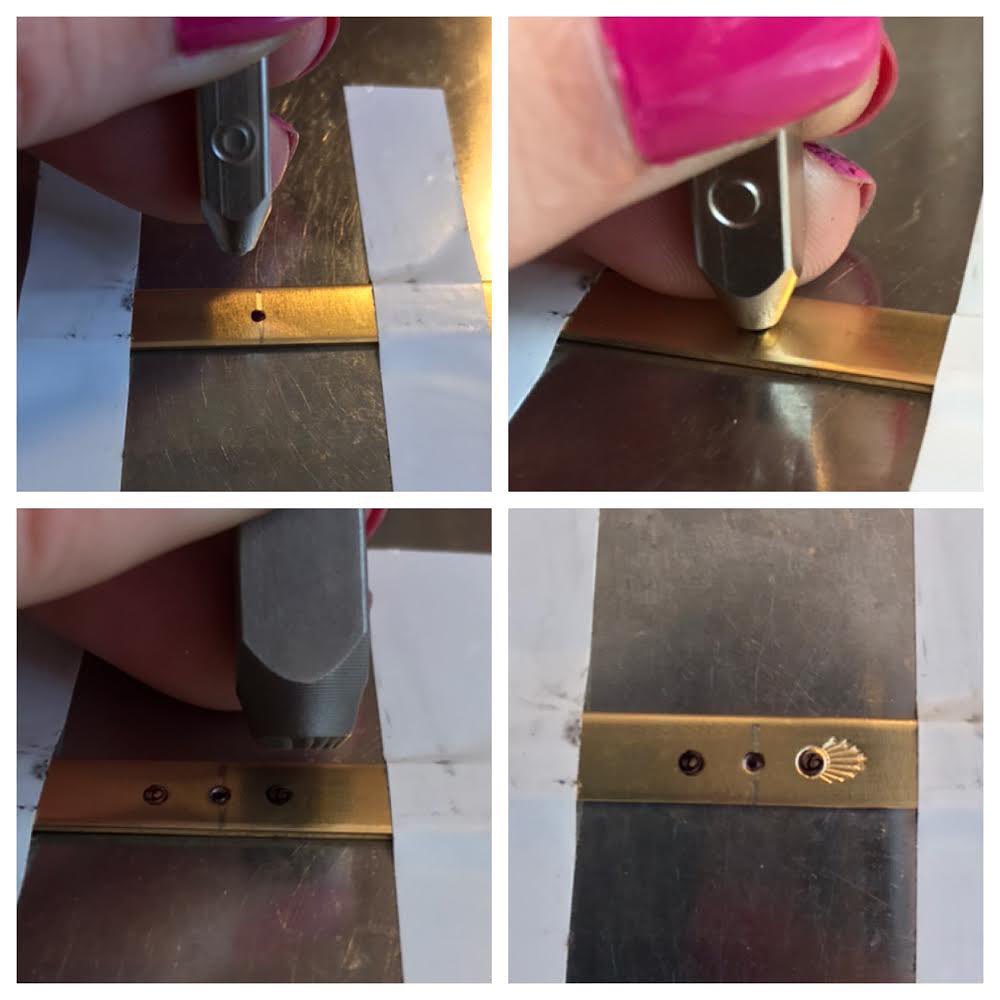
To achieve a straight line, use two pieces of tape to hold your piece in place, and one piece of tape to place a guide line for your stamps (this tape is called 'stamp straight tape' from @impressart). Place the stamp down gently on the metal and pull it towards you until it hits the edge of the tape guide. For a stamped pattern, I also start from the middle. I draw a guide onto the metal in pencil or sharpie (which polishes off later) and use that to line my stamps up exactly where I want them. A tiny rough drawing of the stamp shape is helpful because you can cover it up and know that your stamp is in the exact right place. Lastly, if at any point your metal starts to lift or warp, use a nylon hammer to straighten it back out before continuing. Warped metal can cause your piece to shift and ruin your straight stamping.” This is great! It’s a bummer when you work hard on a piece and then your stamping was not how you planned. These tips are a great way to set yourself up for success! Thanks for sharing with us! #stamping #stampingjewelry #stampingjewelrytips #jewelrytools #makingjewelry #learningjewelry #jewelrymakingcommunity