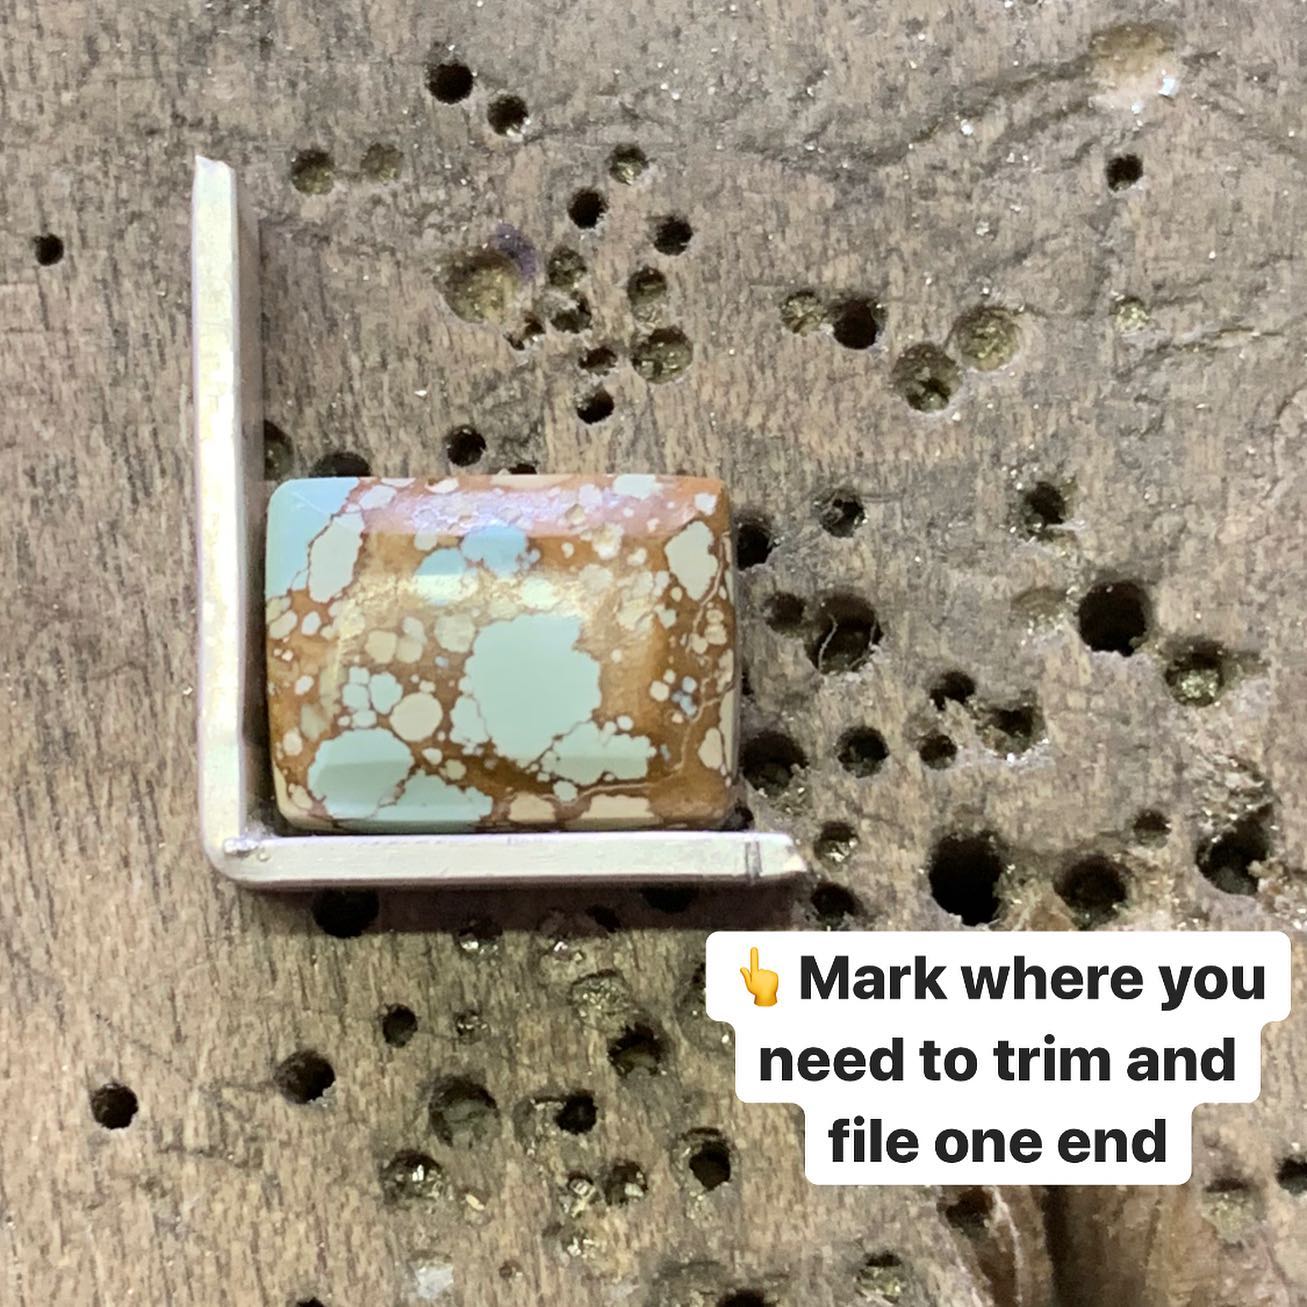
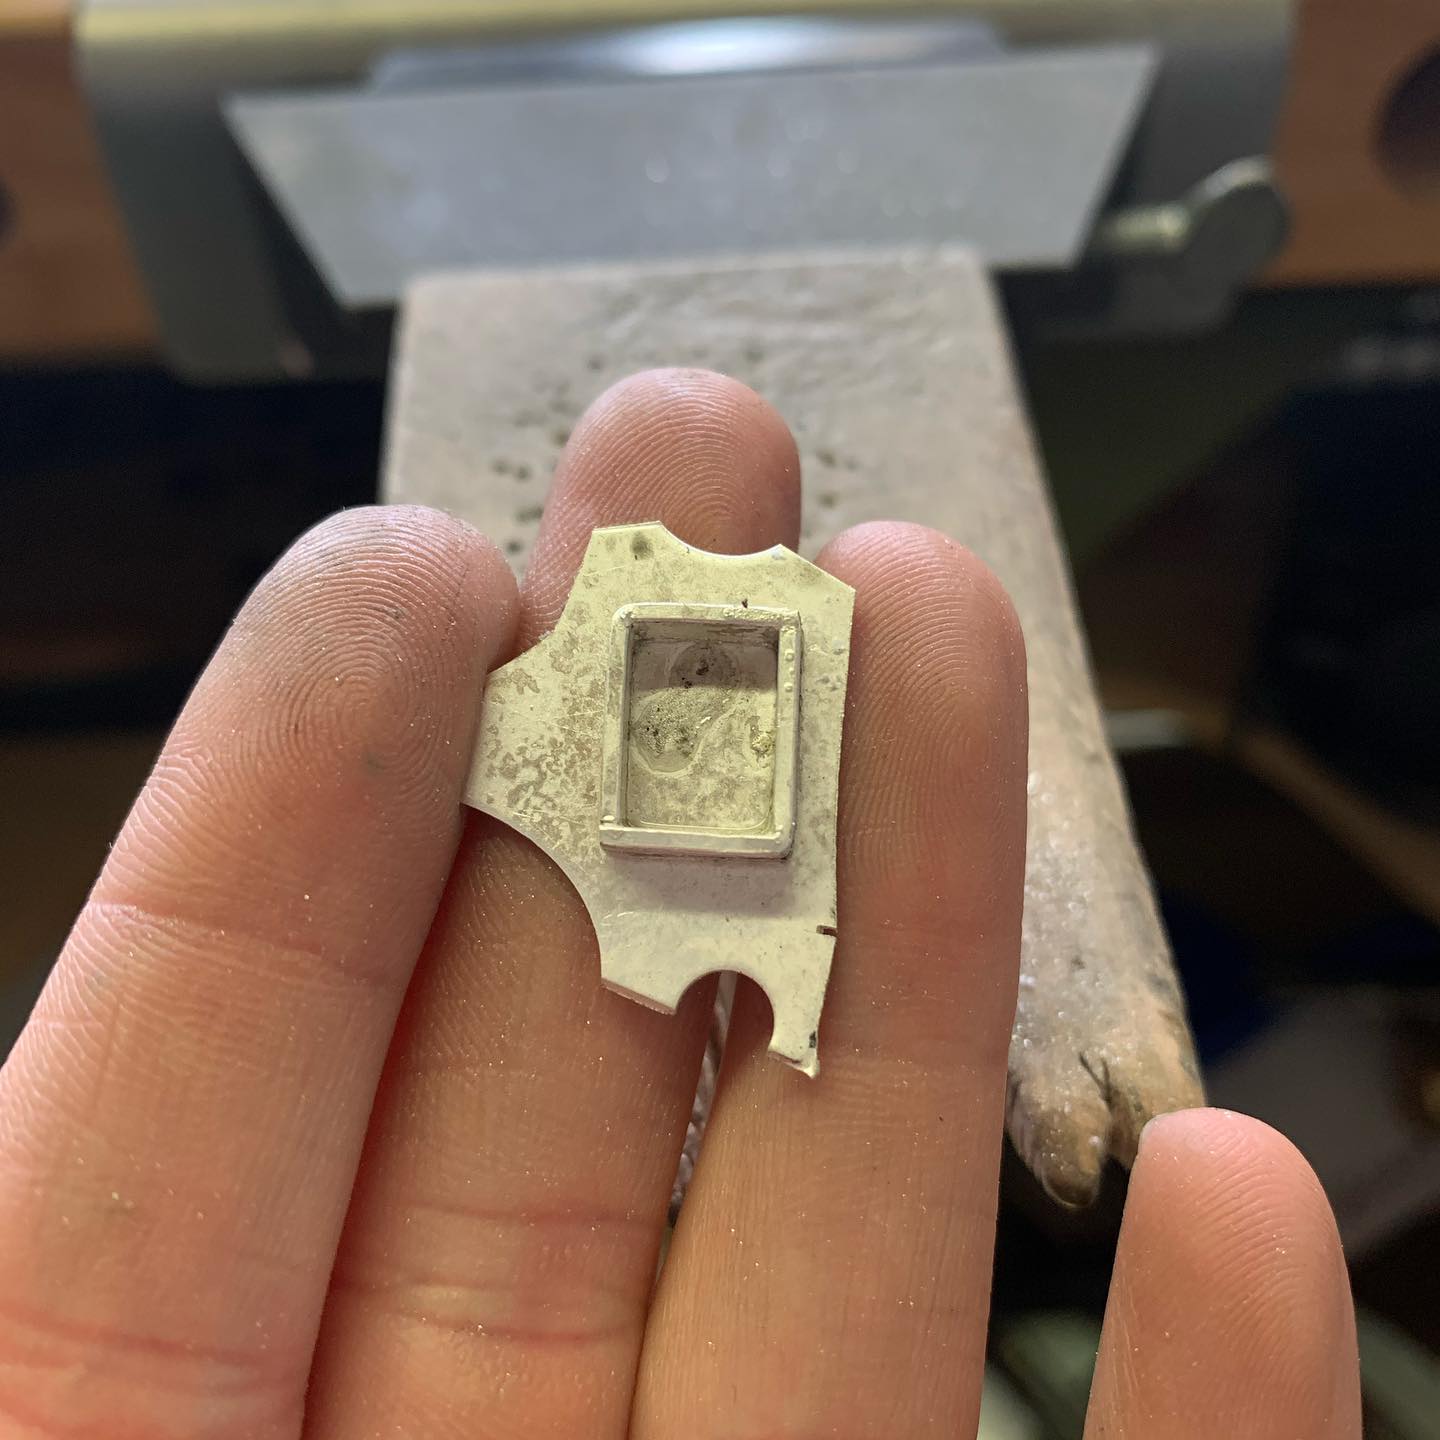
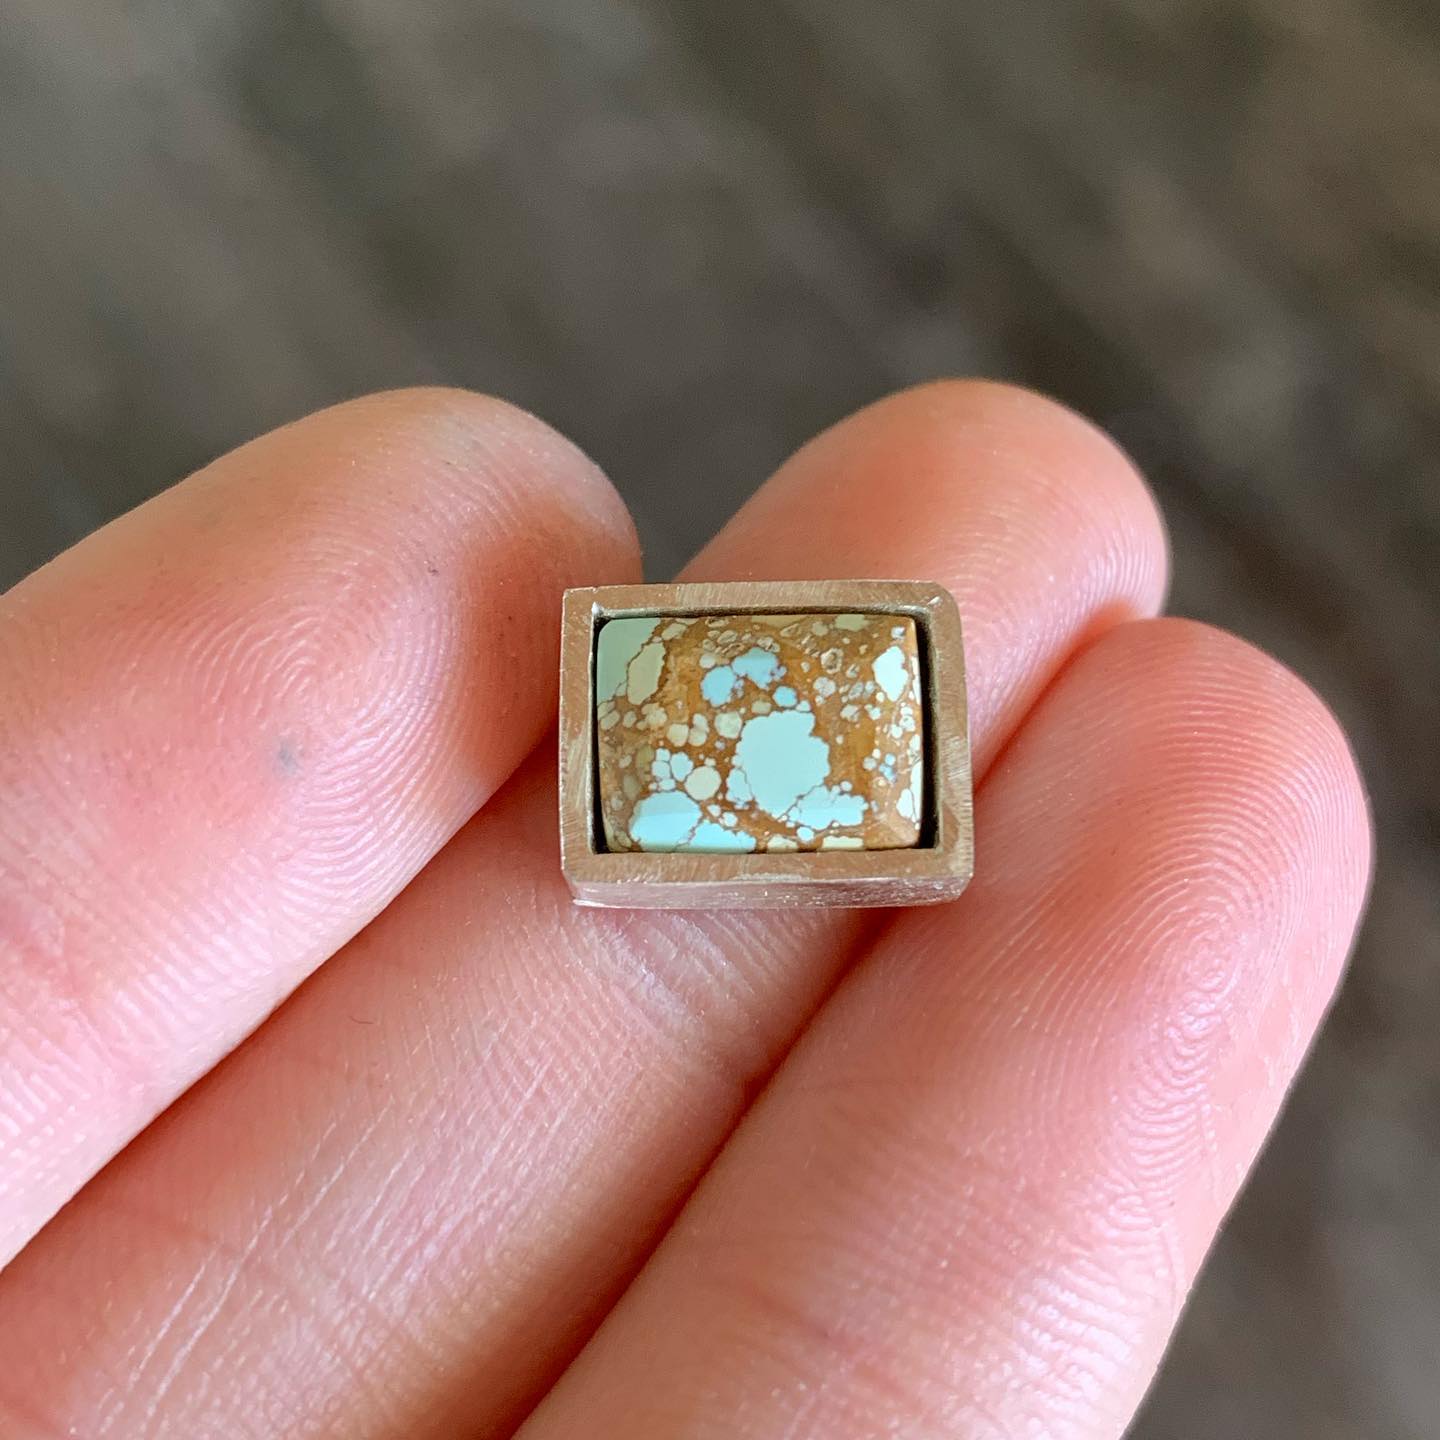
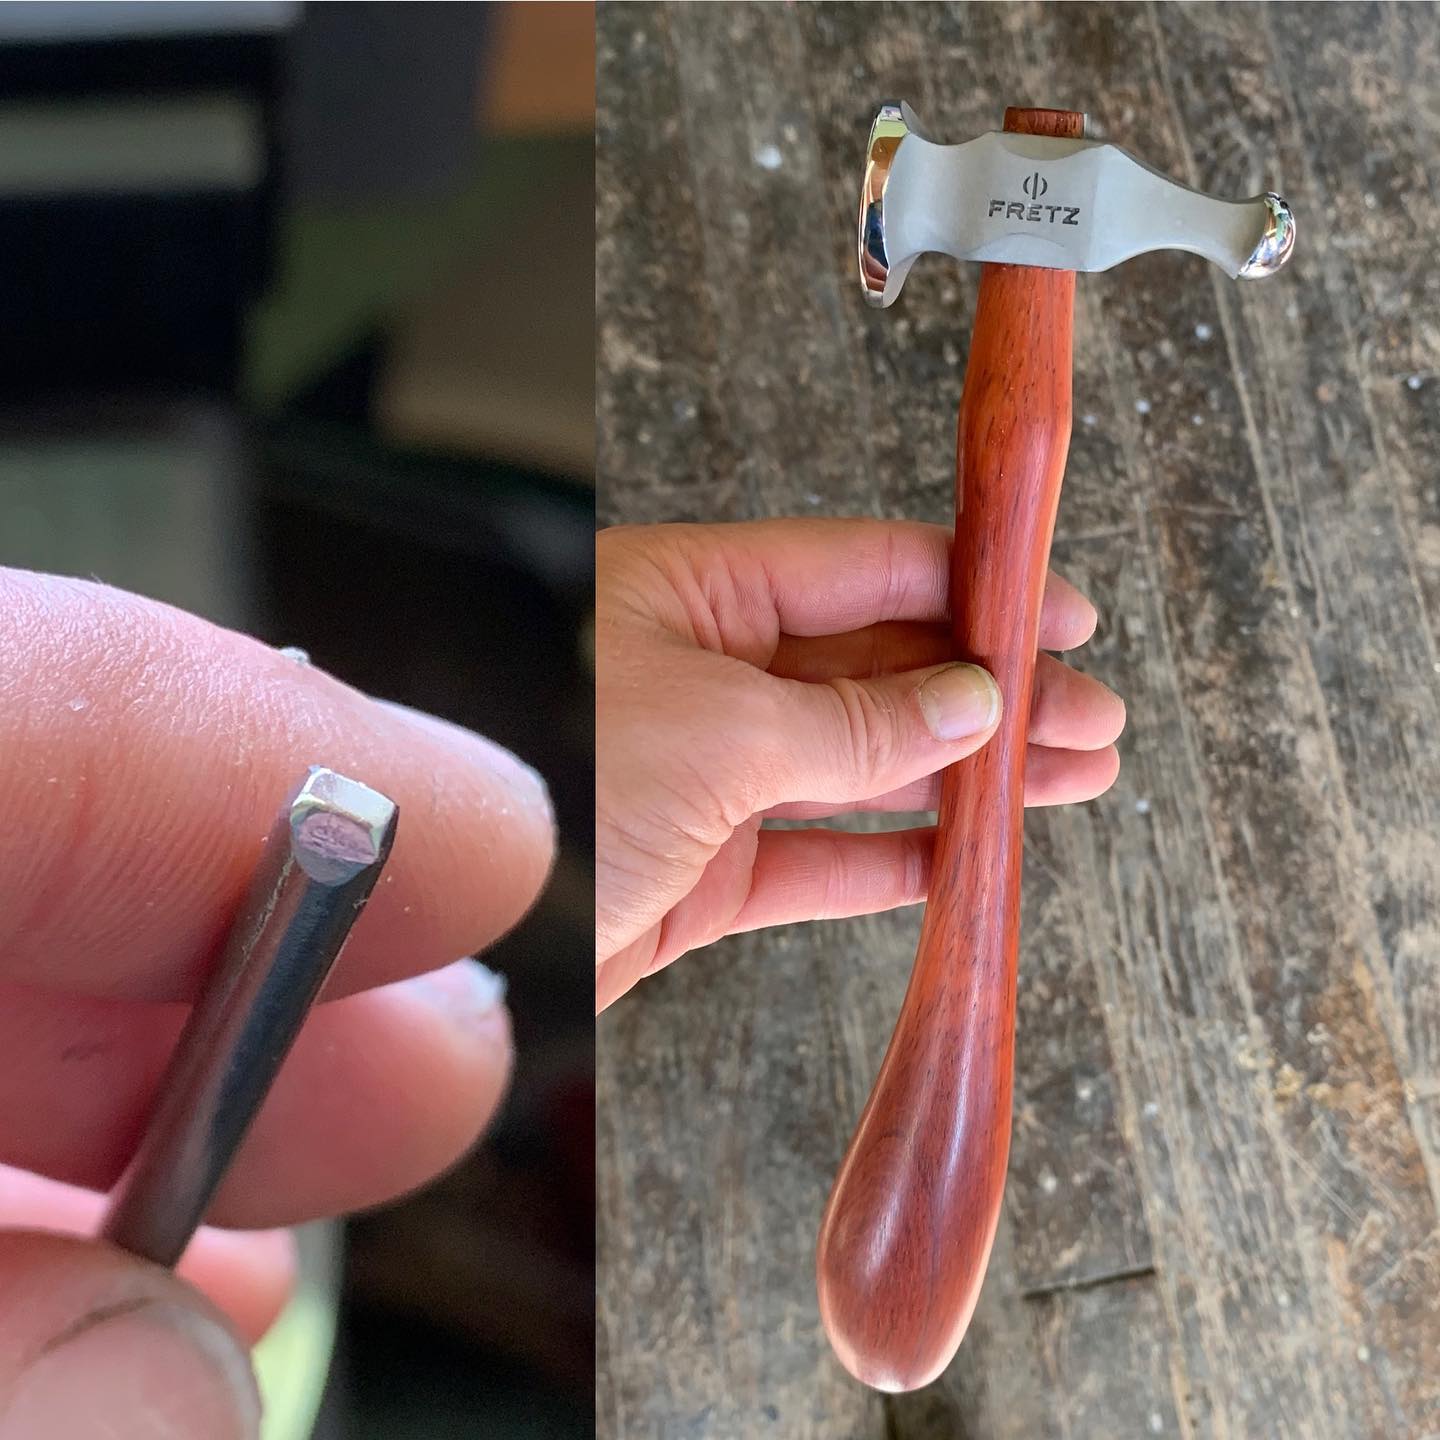
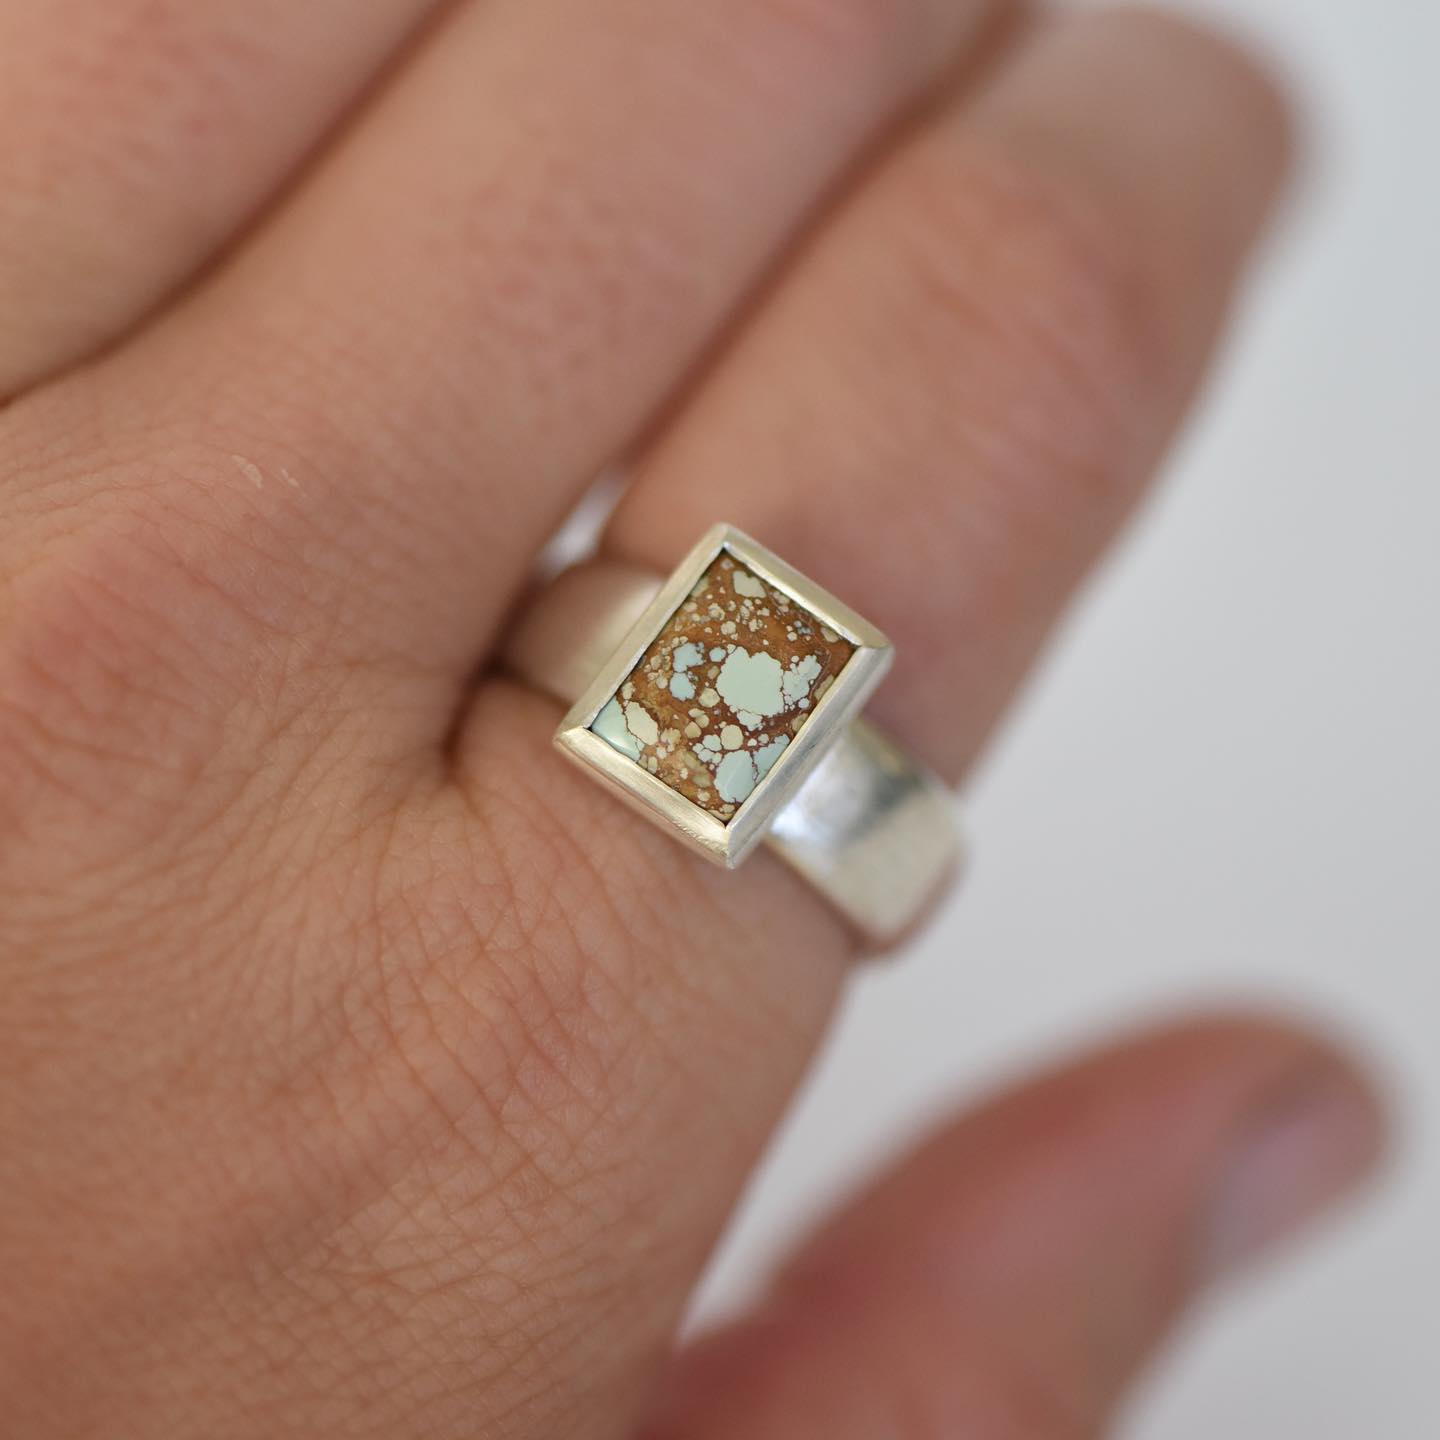
#sponsored These tips on creating rectangular (or square) shaped settings are sponsored by @turquoise_moose they sell a wide variety of gorgeous, high quality turquoise and are offering our community $10 off your order with code METALSMITHSOCIETY (visit turquoisemoose.com) Tip 1️⃣ When working with 1mm thick wire you can use your saw to score and quickly bend two corners. Once they are at a perfect 90 degree flow a little hard solder into each corner! Next you want to mark where you will be trimming one side of each corner. Tip 2️⃣ When you bring the two corners together around the stone, mark where they meet with your scribe. This shiny mark will help you align them perfectly when you go to solder them together! Once you have it soldered together test your stone, and if all is well go ahead and solder to your desired backplate! Tip 3️⃣ Once you have your setting created you will want to chamfer the edge. This is done by filing a 45 degree angle. This is presuming you are using the 1mm wire to create a bezel and need to minimize the material around the edge, with a very thin bezel you cannot chamfer. Tip 4️⃣ I use thermoloc to hold my piece and I’m setting with a steel nail that I shaped into a tool and a chasing hammer. When setting this thick of a bezel a hammer setting technique is required. Tip 5️⃣ When setting anything with corners always set the corners first! 😄 Lastly, you do want to smooth out the file marks. I start by CAREFULLY sanding (masking tape over your stone can protect you from a slip here) and then I use Italian wheels from @ottofrei1930 they are mostly stone safe but I’m always careful around turquoise! I hope these quick videos and ideas will inspire you all to set some rectangular or square stones and a huge thank you to our sponsor @turquoise_moose their support allowed me to take the time to shoot these videos to share with you all! Also a thank you to @marquisjewelryacademy for helping me work with thick bezels. #communityovercompetition #turquoisestones