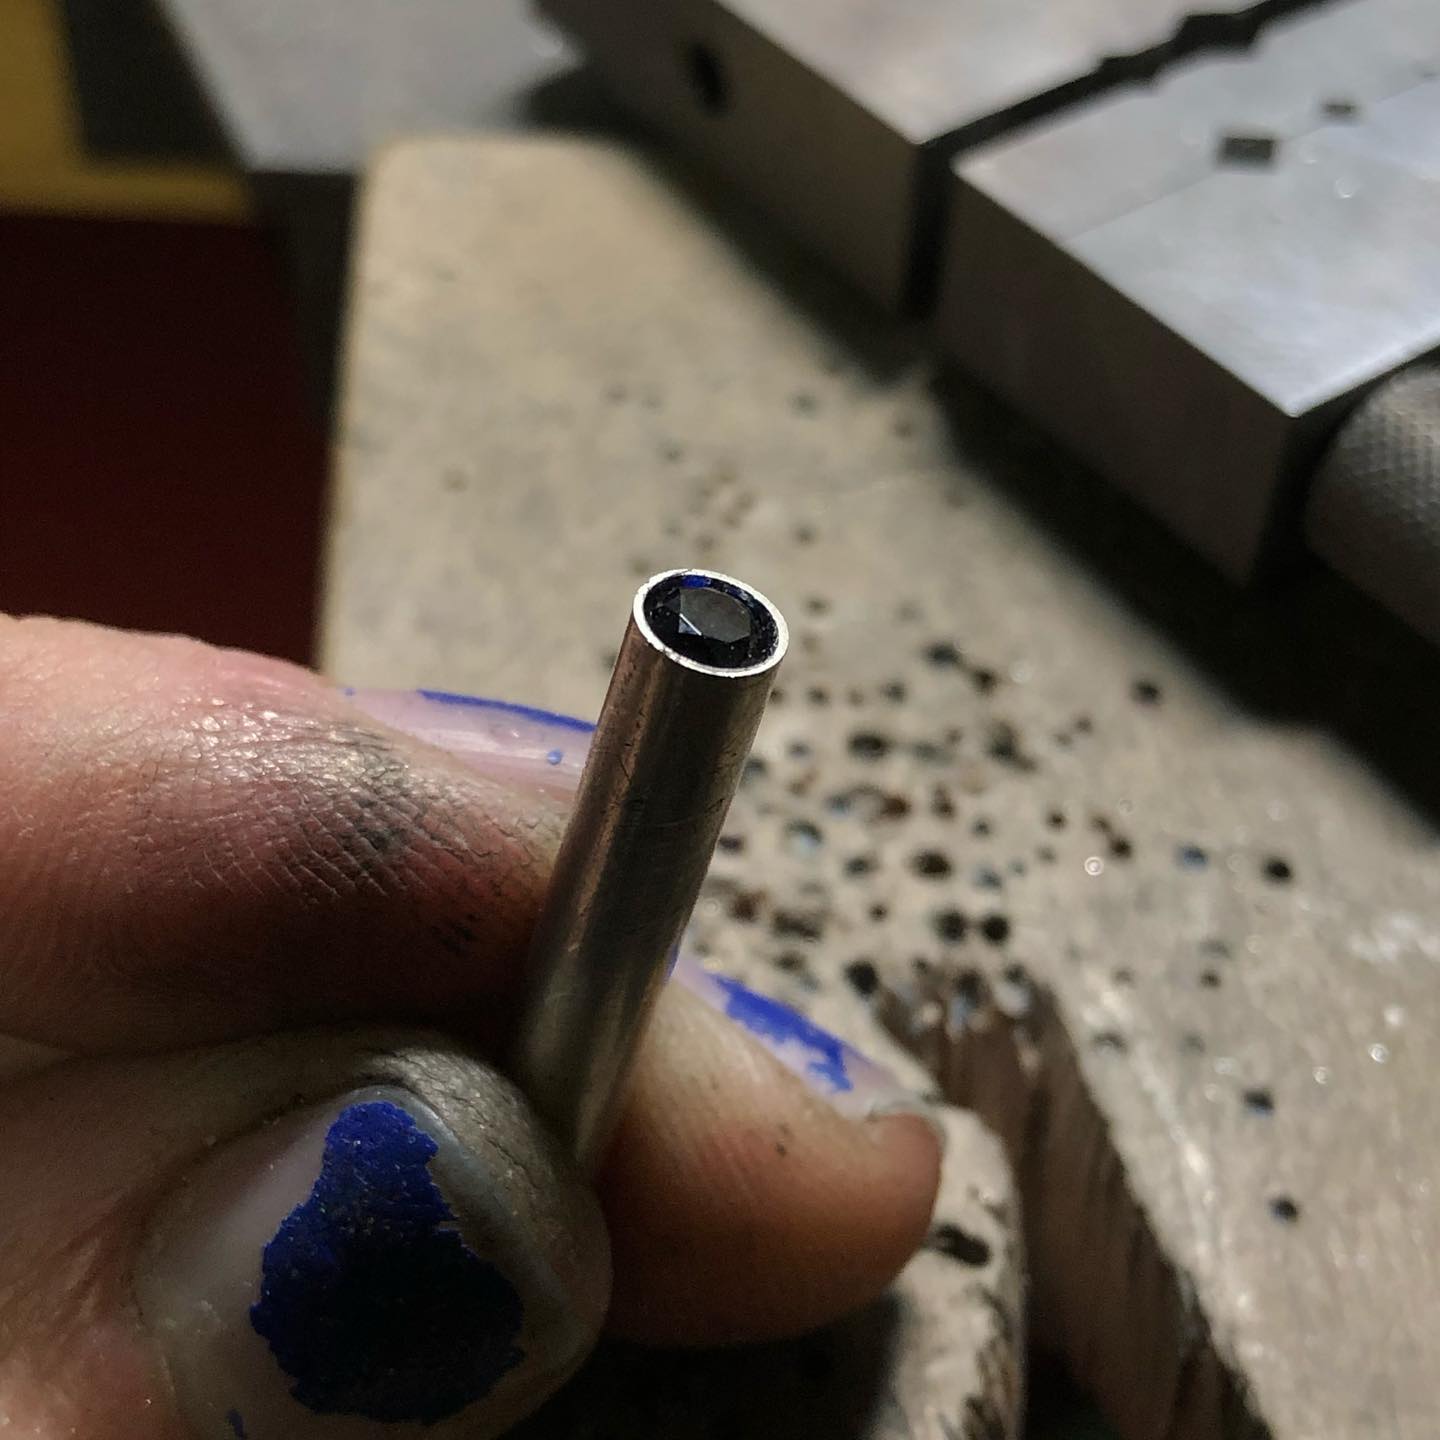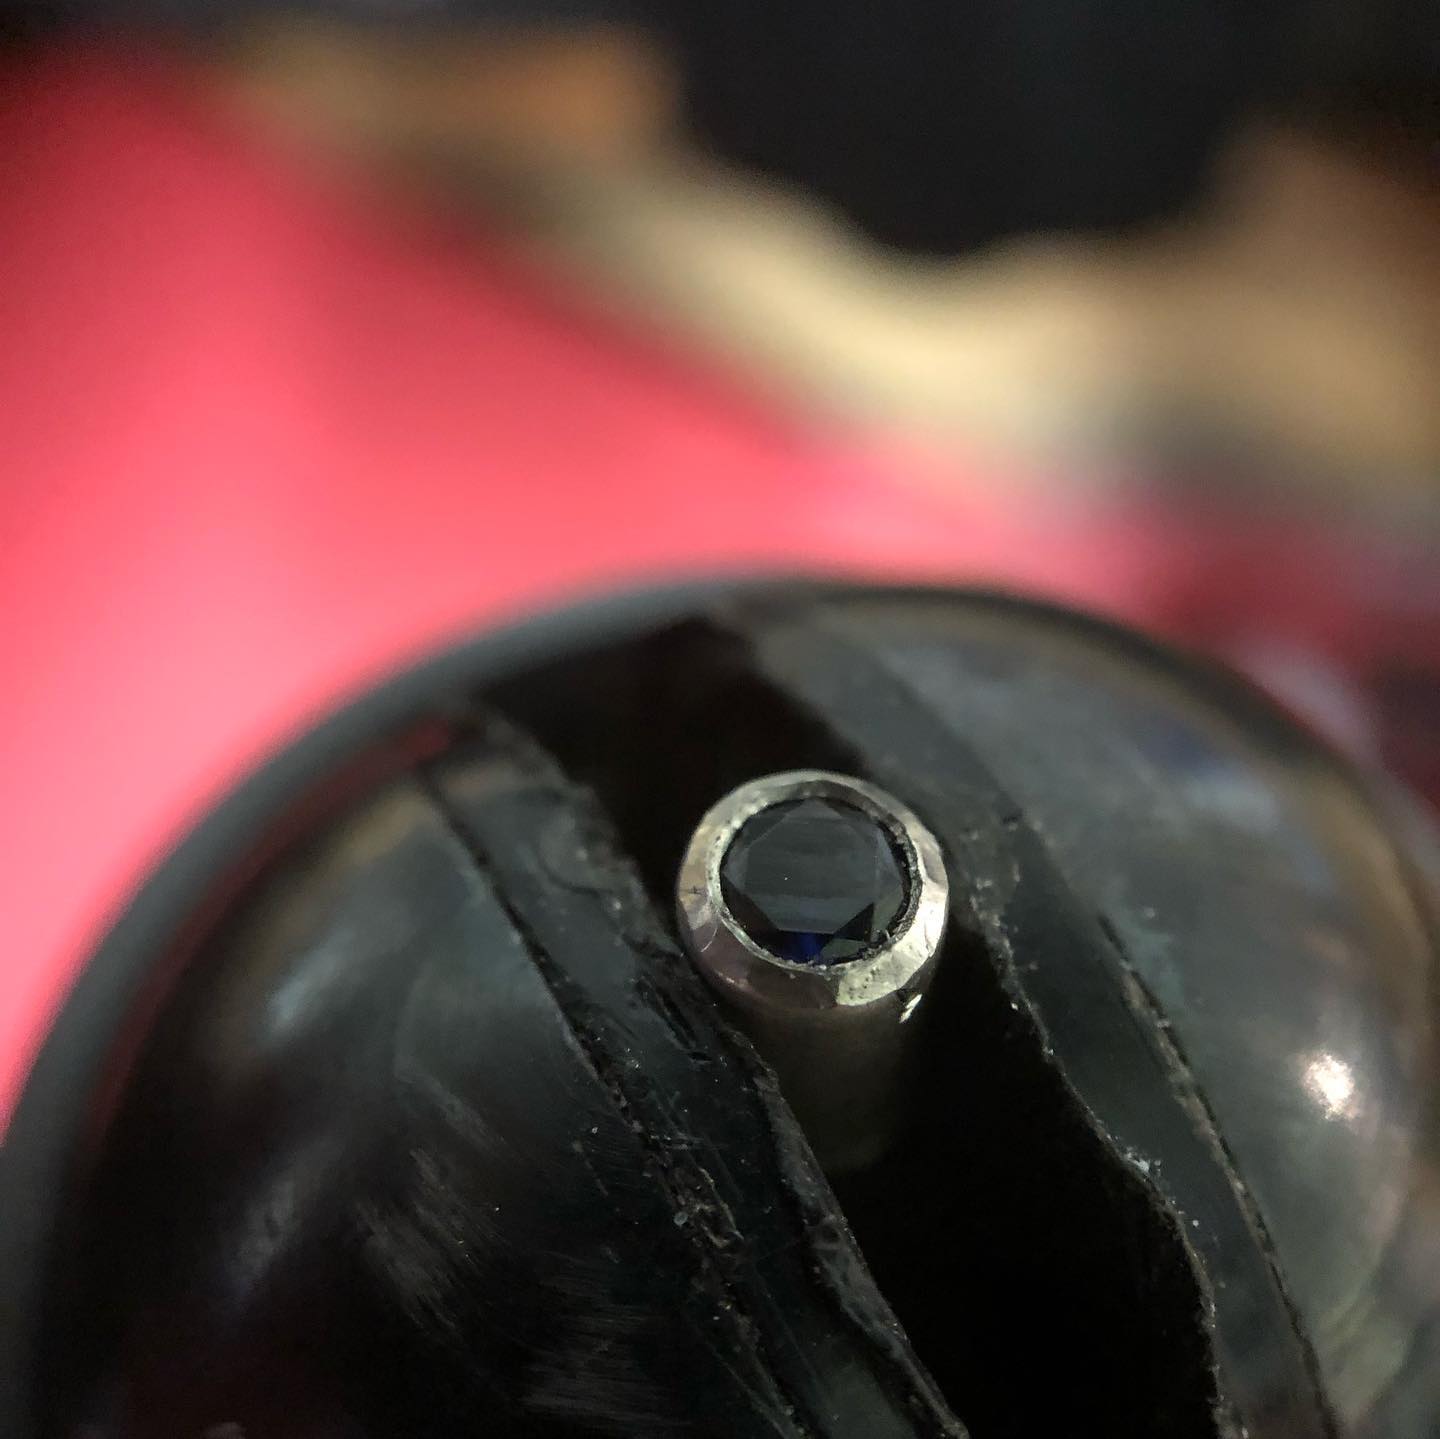

Here are some of my tube setting tips! I start with tubing that is at least 0.5mm (1/64 in.) larger than the gemstone I plan to set and I prefer to work with “heavy” walled tubing. First I use my miter jig to make the top of the tubing flush and then I get a setting bur that matches the diameter of my stone and drill into the tubing. I try to keep my bur nice and straight as I drill down and I always add some lubricant! With setting this small you can just lubricate the setting directly. The miter jig is a convenient place for me to hold the tubing while I drill. Once I see the stone is sitting in there nicely I cut the tubing down to the size I would like for my piece (this video is just a sample but you could then solder the tubing to a pair of earrings, ring or pendant before you set!) That’s it! Then you set, I tack the bezel down at north, south, east and west. Here I’m holding my work with GRS Benchmate and I’m using the Foredom® Hammer Handpiece #15 to set (the video is sped up a little bit so make sure you always use your hammer handpiece at a slower RPM 0-5000 RPM. You can also use a burnishers to push the walls down :) ADDITIONAL NOTE* My sample here is drilled down a bit deep into the tubing, I like my bezels a bit thicker but the more you drill down the more the bezel lip will cover the crown facets. You can drill way more minimally and still have metal to secure the stone!* Tube settings are an awesome setting for beginners and a great way to embellish your work and make settings for faceted stones. I hope this post encourages some of you to give it a try! #flushsettings #howtoflushset #howtomakejewelry #jewelrymakingtutorial