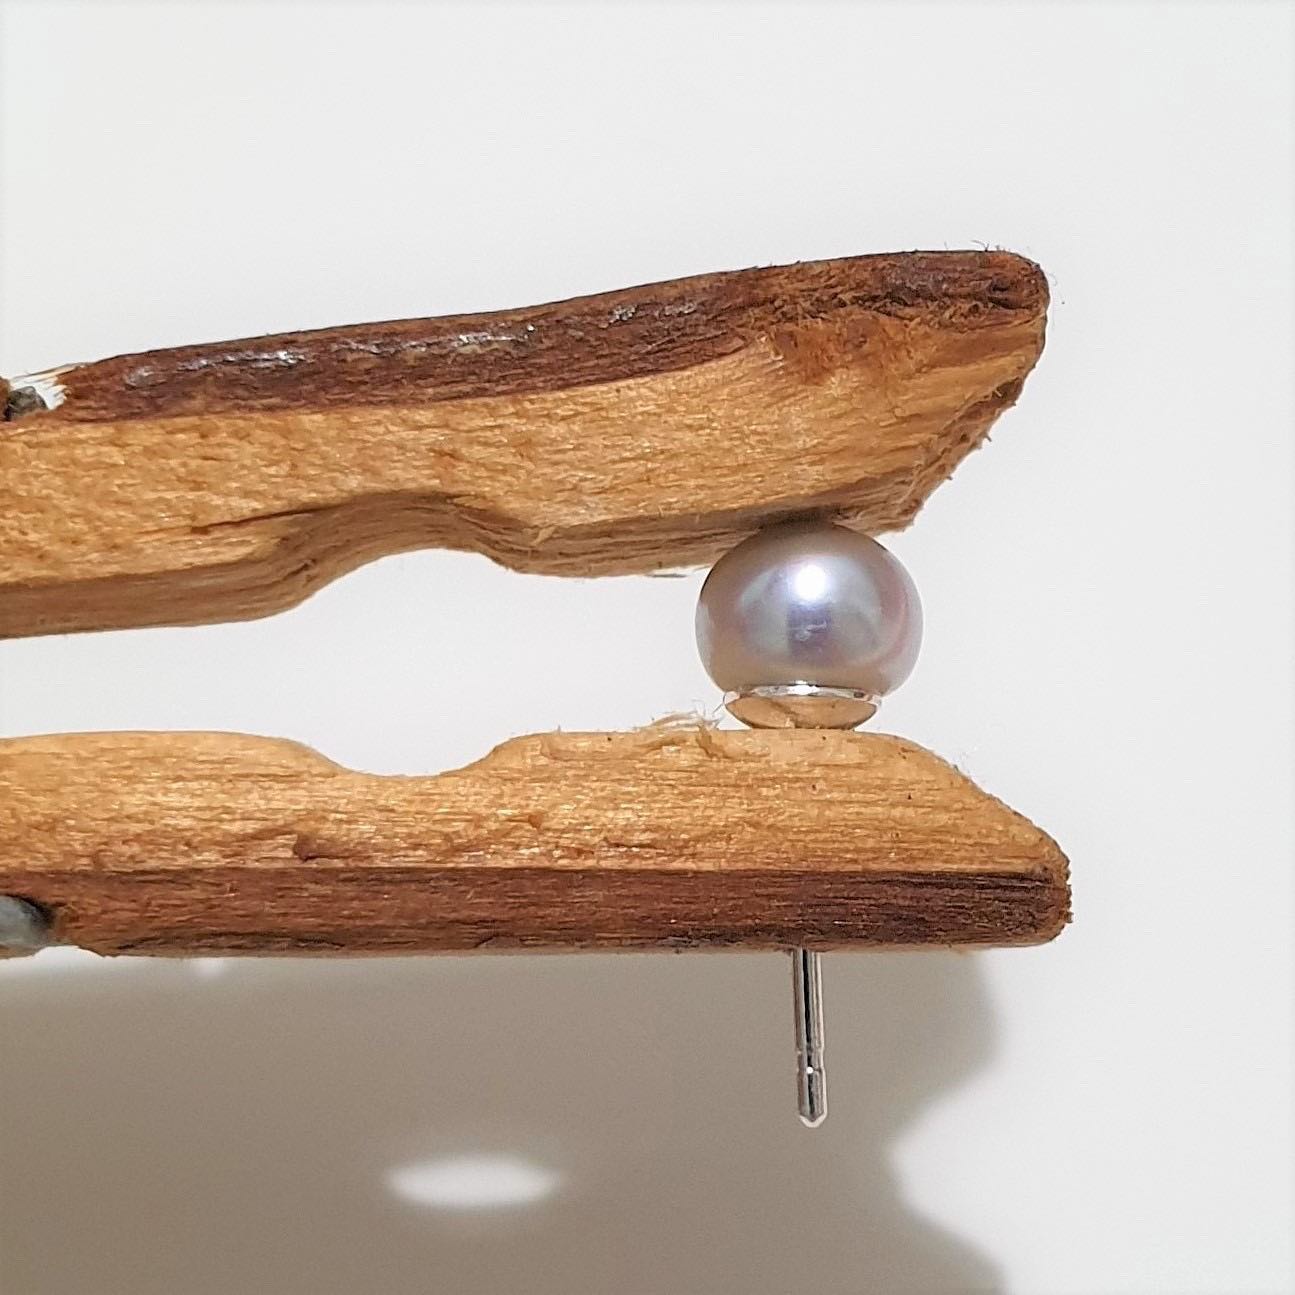
Here is a tip for working with epoxy from @maxwellharrisonjewellery - “I was making some earrings using half-drilled pearls and wanted to make them really secure. I'd already made a threaded post that was a tight fit and made the little cups to fit the bottom of the pearls as closely as possible. I drilled a 1mm hole in one side of a wooden clothespin and then laid it on my bench with the two parts slightly askew and the drilled side at the bottom. I dropped my finished ear post through the drilled hole so that it rested on the inside of the clothespin then used a broken saw blade to apply tiny amounts of two-part epoxy to the threaded part of the post, and also inside the pearl's hole. It was then just a matter of pushing the pearl on to the post, and moving the top section of the peg over it and releasing. This then clamped the the pearl on to its cup with just the right amound of pressure, without deforming the ear post. I left them like this for 48 hours to make sure they were well and truly set before taking them out. The wood used for these pegs/pins is usually pretty soft and won't mark the pearls or the metal.
I've attached a short (28 seconds) video of the pins being drilled, followed by a photo of the pearl earring being clamped whilst the epoxy set.” Thanks for sharing this!! I know many members of the community have questions about epoxy so maybe we can discuss any questions in the comments! Hope everyone has a great day! #pearlearrings #clamp #makingpearlstuds #epoxyresin