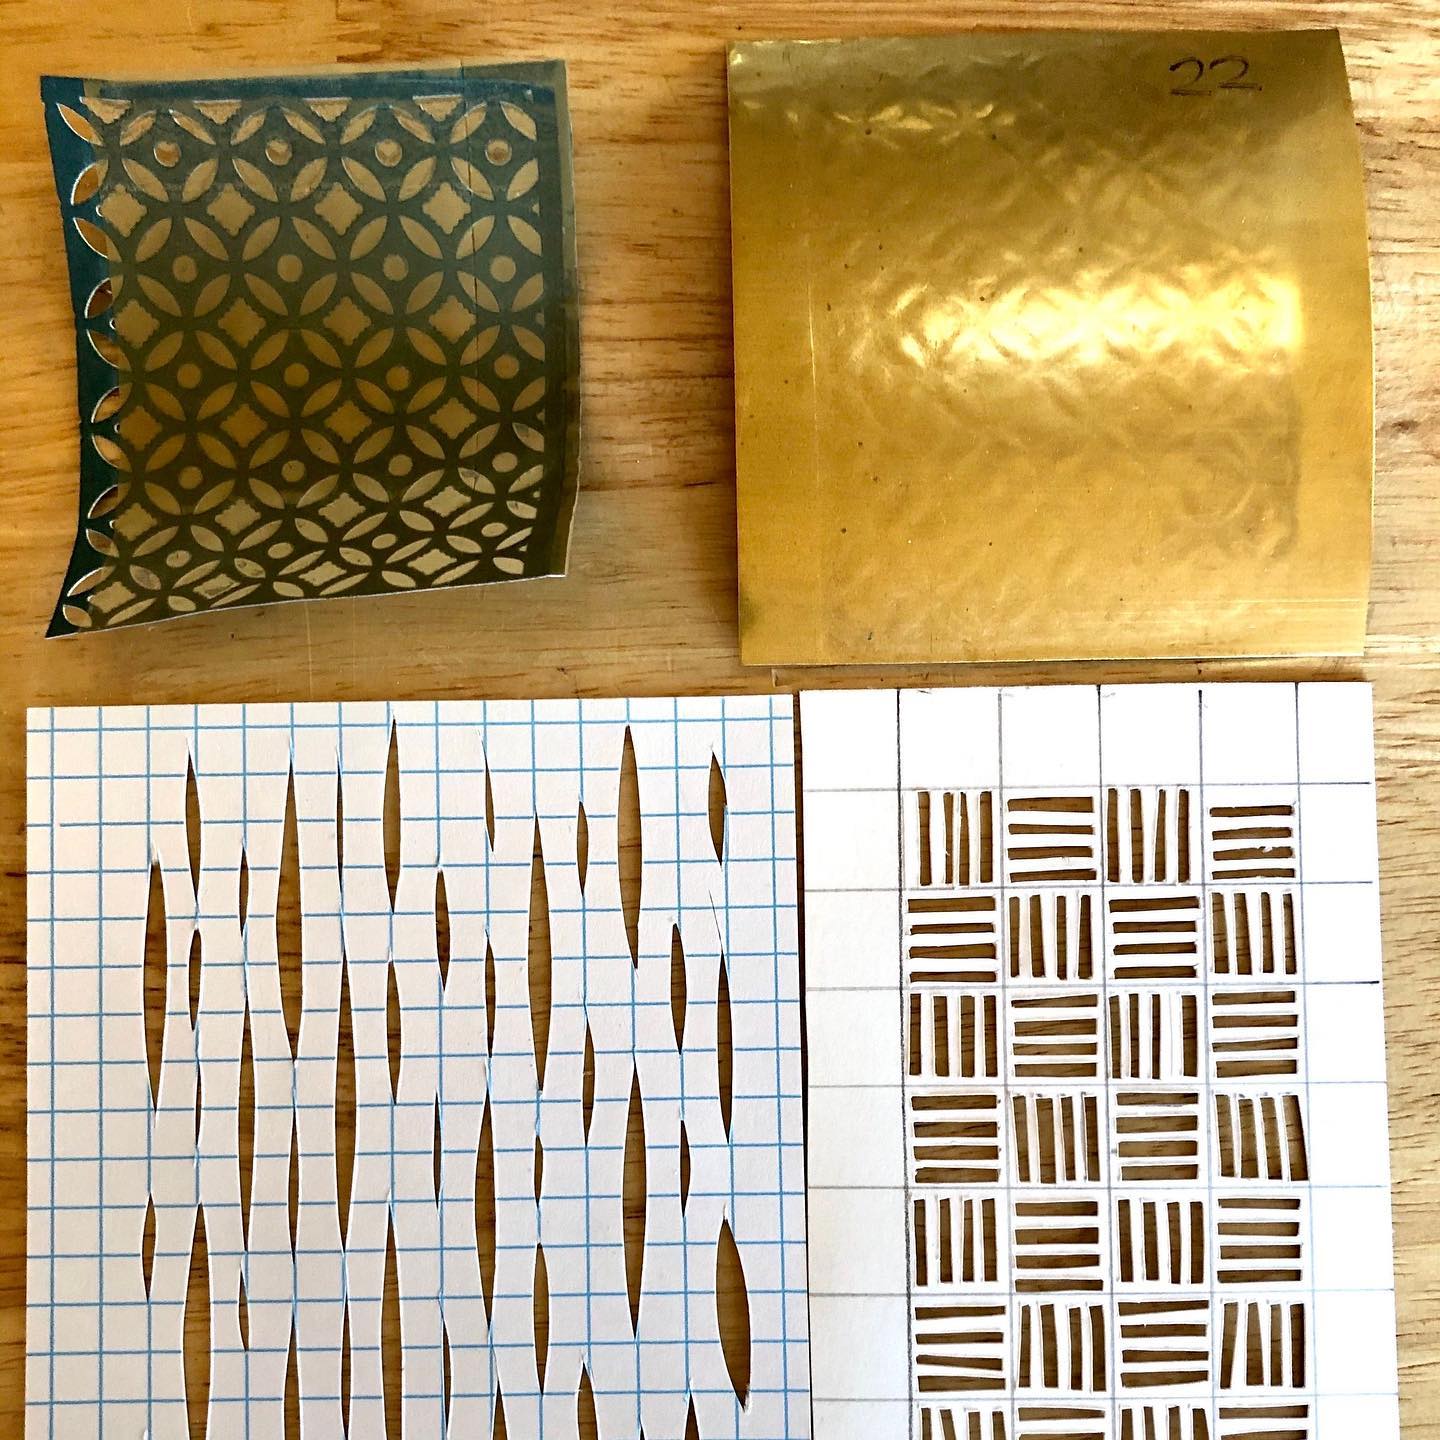
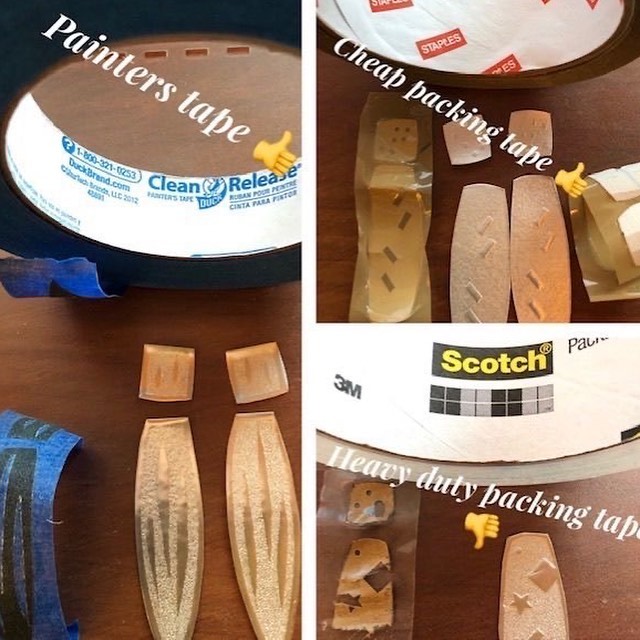
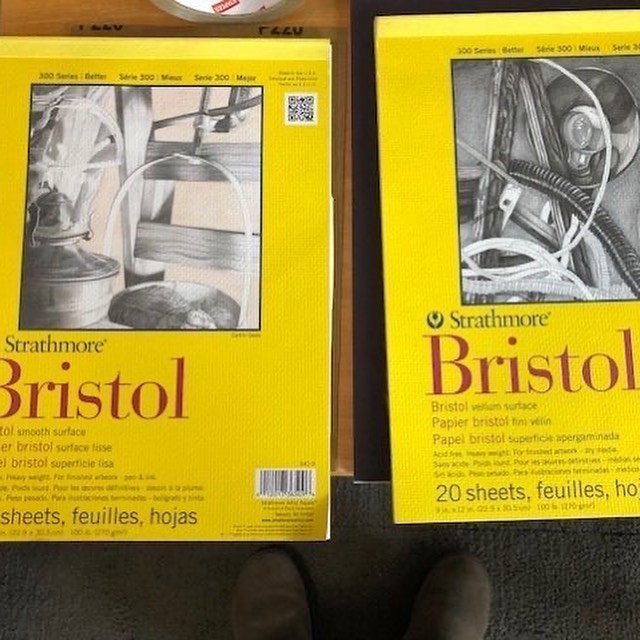
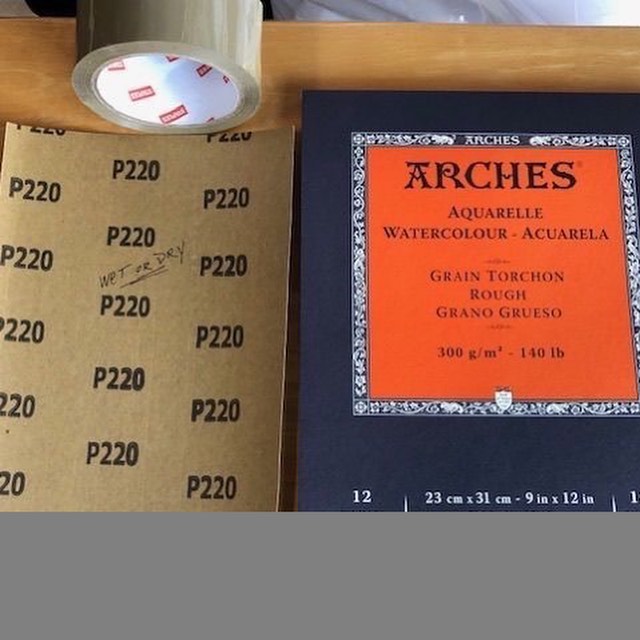
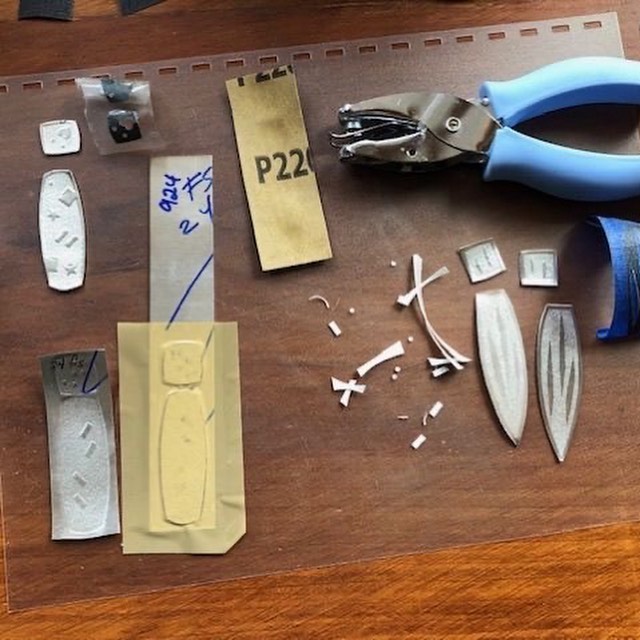
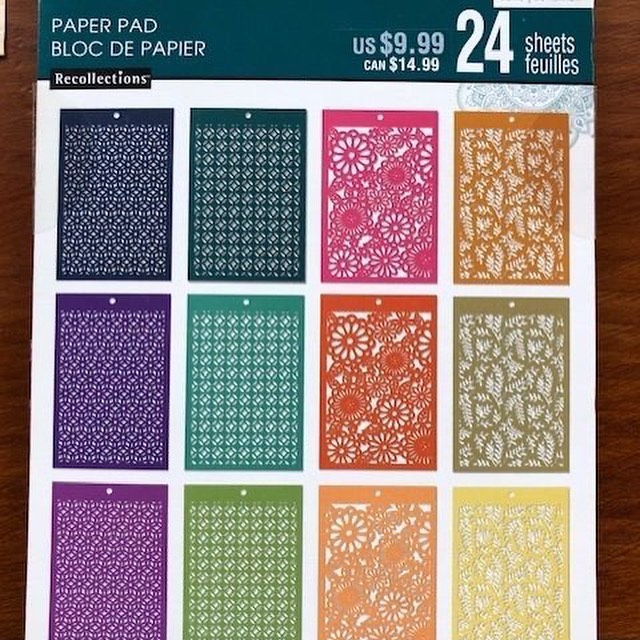
Here are some great rolling mill texture tips from @kkmetalwerk4640 - “I like to use paper patterns for the rolling mill and frequently cut my own using an x-acto knife or punches. Pretty much any type of substantial weight paper will work, but I like 100 lb Bristol Board (smooth or vellum), 140 lb Watercolor (rough), 220 grit wet or dry sandpaper or 1/4" grid lined index cards. Each type of paper cuts with punches differently and some will only work with a sharp knife. Some of these papers are acid-free and some are not so whenever I use my mill I clean it at the end of the day and apply Fluid Film to protect the rollers and have had no issues with using paper even if it is not acid-free. I bought some cut out papers from Michaels and was afraid it would tear in the mill so I put a piece of packing tape over it for reinforcement. Not only did it reinforce the pattern it also secured the pattern to the metal so I could run it through again with more pressure without the pattern shifting. The brass piece is the backing metal so you can see I got a good impression. Sometimes I will tape the pattern to the metal and then to a file folder to run through the mill to keep everything from shifting, this requires the wider 2" tape. I typically do not try to emboss metal more than 1 3/4" wide so that is enough tape around the edge to hold it down. The best tape to hold the stencil down was the blue painters tape followed by the cheaper, thinner brown packing tape from Staples, they do make clear as well as tan. The heavier clear and more expensive packing tape from 3M has too much flexibility and distorted the metal while rolling. I burnished the tape well with my fingernail around the edge of the stencil and on top of the paper.” Thank you so much for sharing this with us! I love the textures you created!
#texturingmetal #makingjewelry