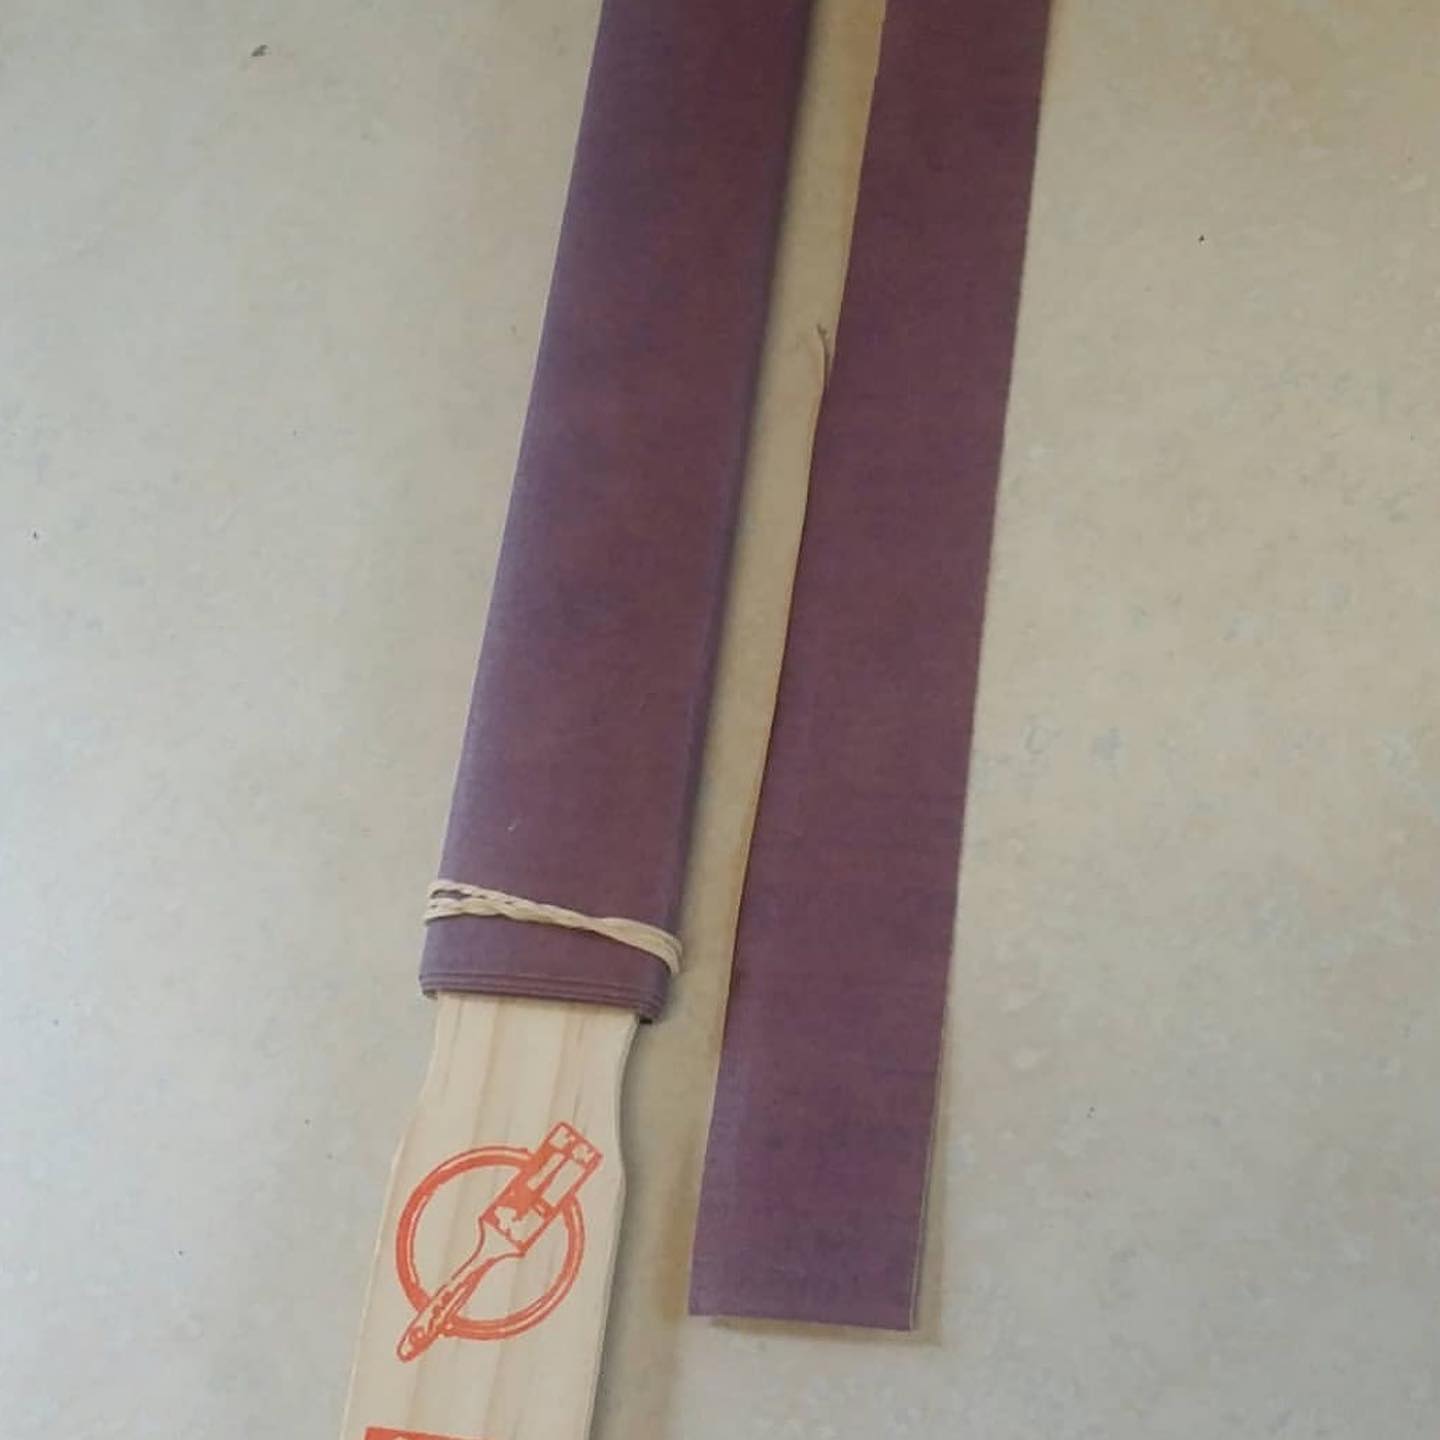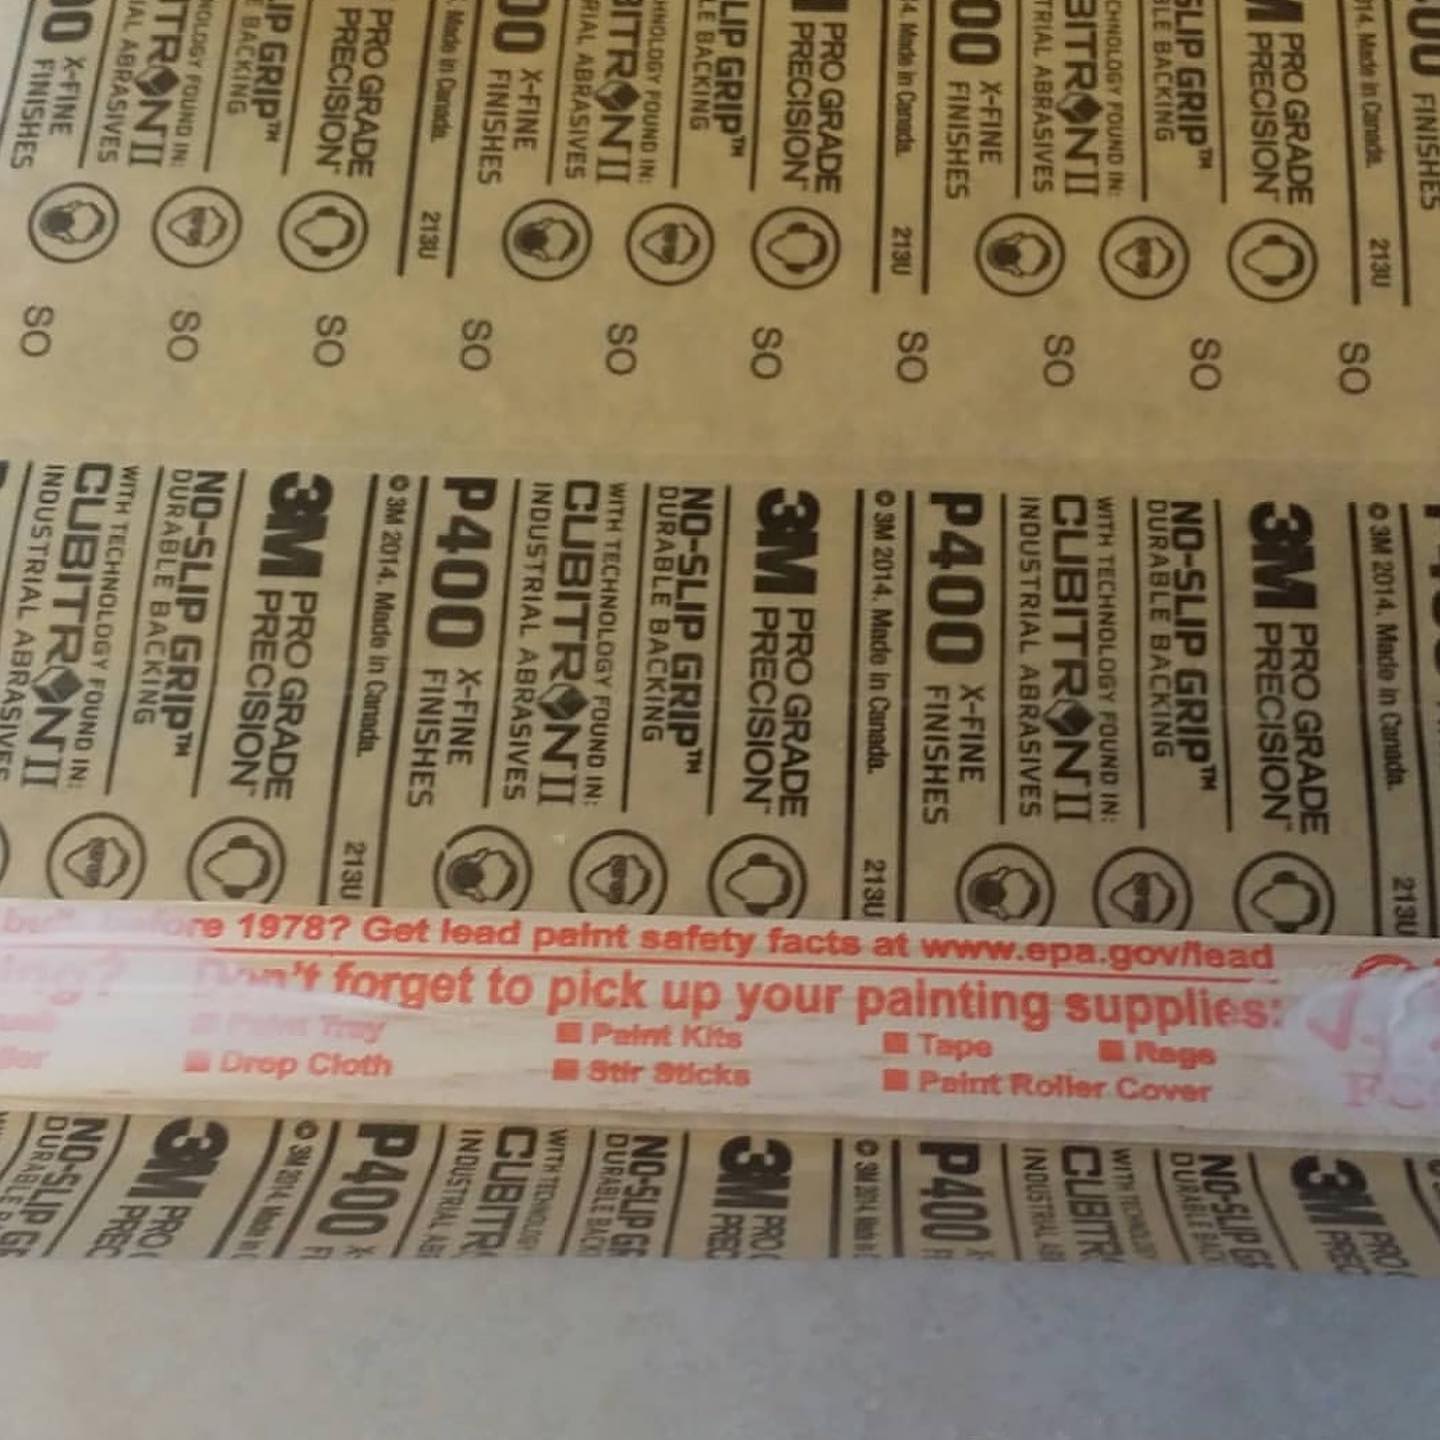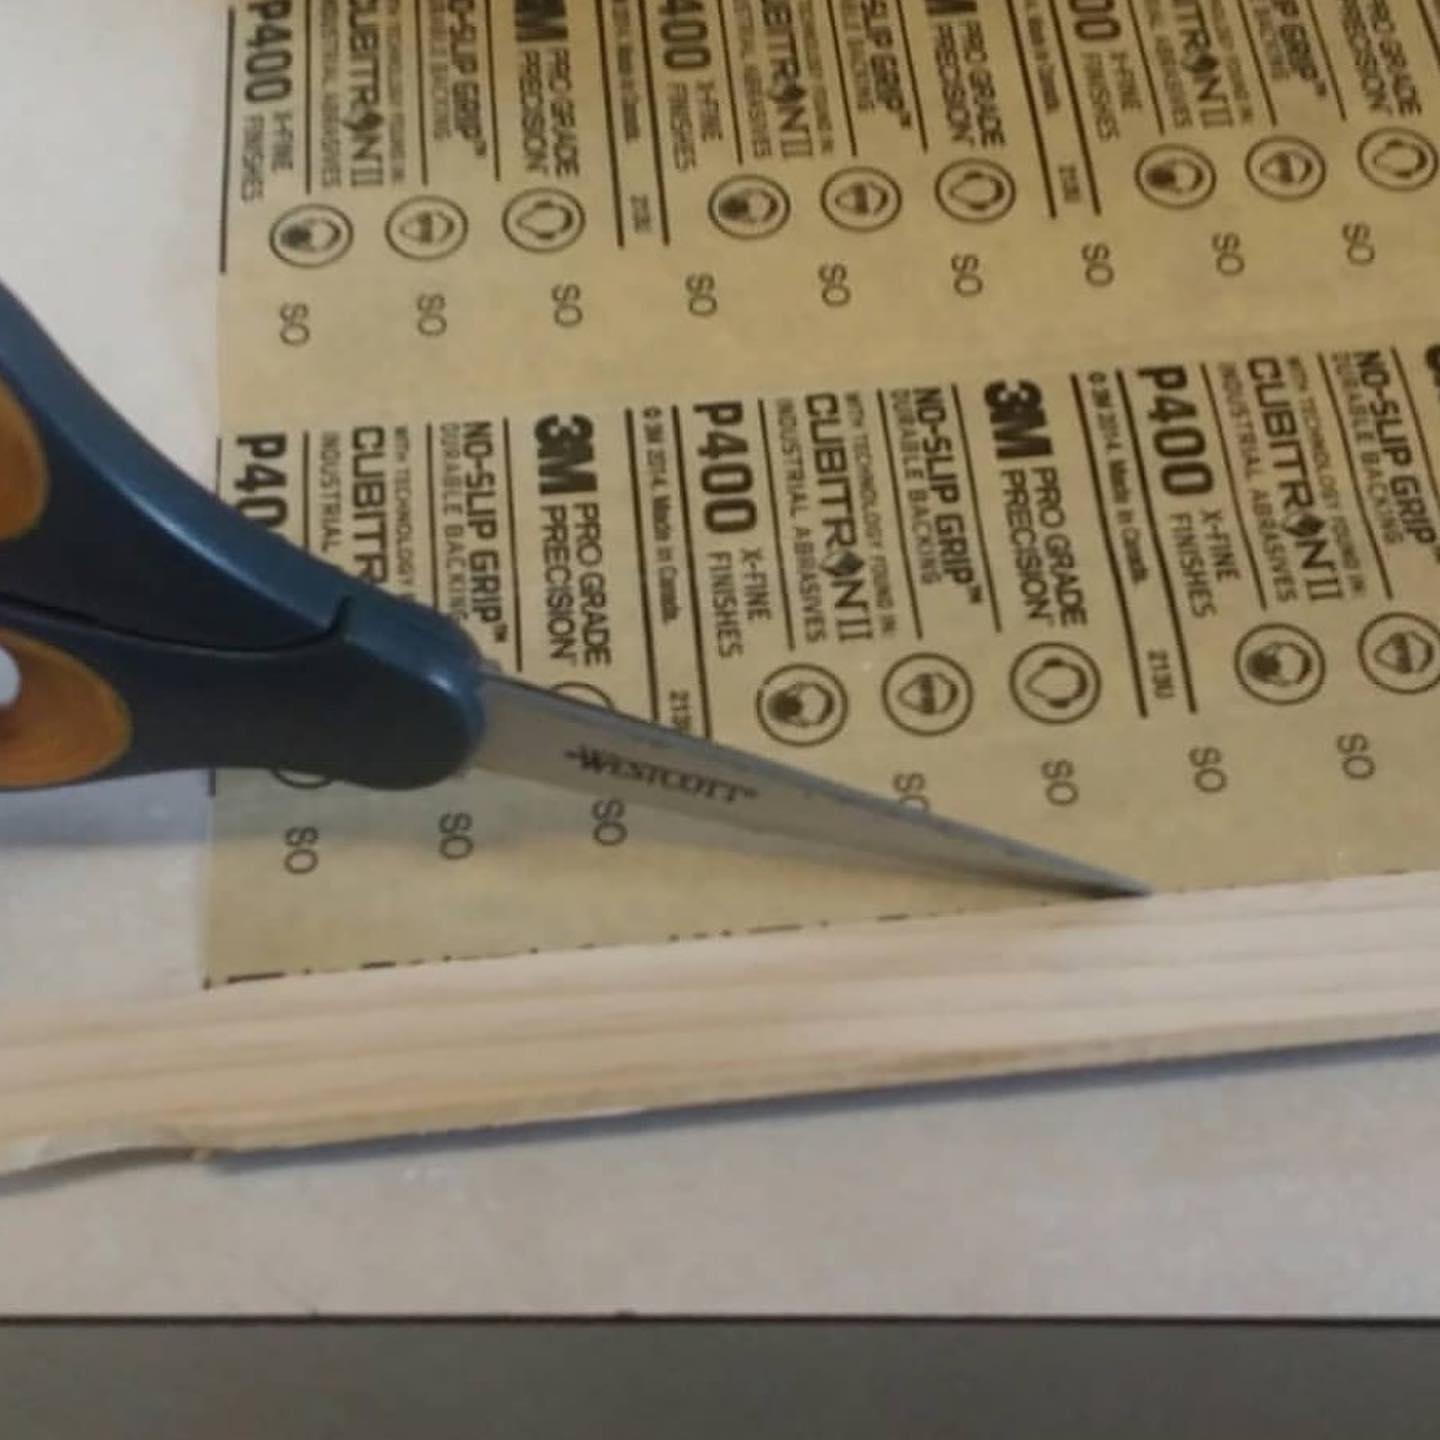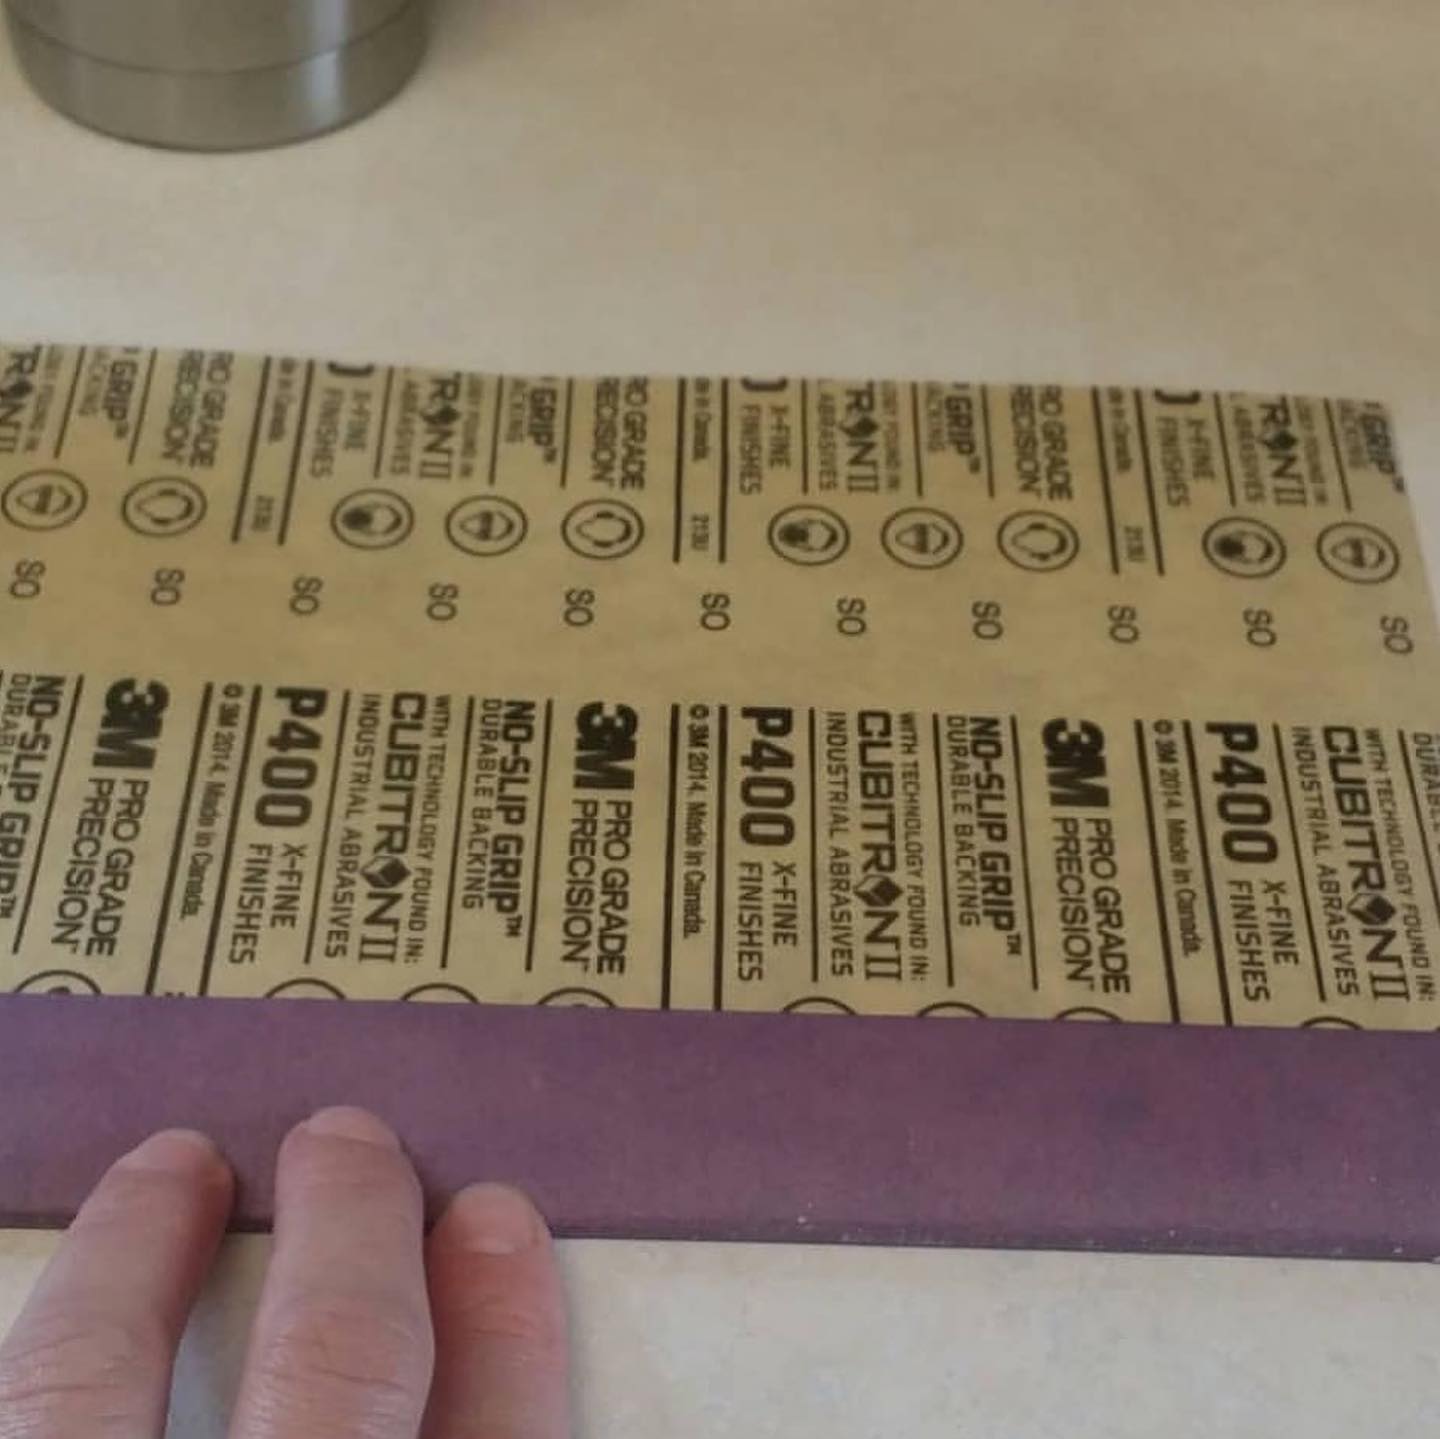


Here is a sanding stick tutorial from @thewiredbug - "So for the sanding sticks you can use whatever for your center "stick" I chose a paint stick because I like it to resemble a file. You could also re-use a worn nail file for a mini stick! I used some #3m sandpaper in 400 because that was the finest paper I had. I also used some weldbond and rubber bands and that's it! First step can be modified depending on how secure you want your paper as well as how you wish to secure it. I like staples the best but I don't have any so I just lined up the edge of my sandpaper with my paint stick and then put a tiny amount of glue on either end to help secure it (optional). Next you will begin to fold/roll it around your stick. I like to be able to use the tiny edges also so I like to LIGHTLY 😛score as I fold that way my edges are super crisp and useable! Last step once you reach the end of the paper (I use the entire sheet, if you want to use less you can!) Cut off the excess and then secure with a rubber band/ staple on either end, and then you're done! Once you have used up a side or you just want a fresh piece just rip off/ cut the side that you want to replace! This works great if you can't afford to get specific jewelry files or just want some more versatility in your finishing!" Hooray for sanding sticks! Lol. Seriously though they are awesome and if you haven't made yourself some it's quite satisfying and you won't regret it! Thank you for sharing this with us! #tipsandtricks #jewelrymaking #sandingsticks #diyjewelrytools