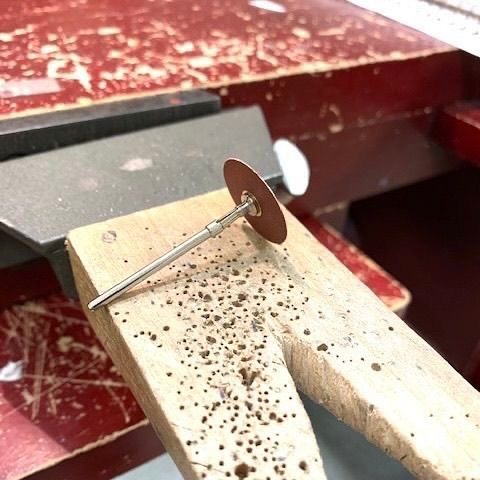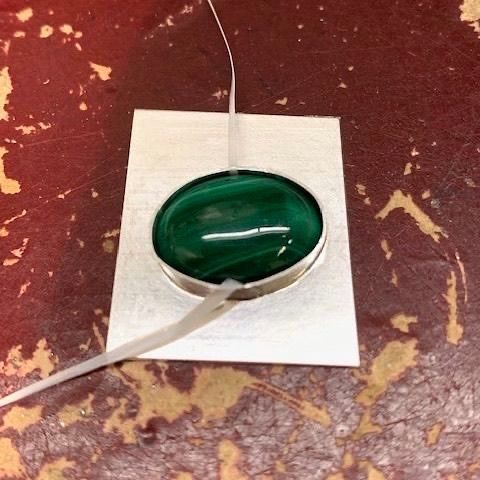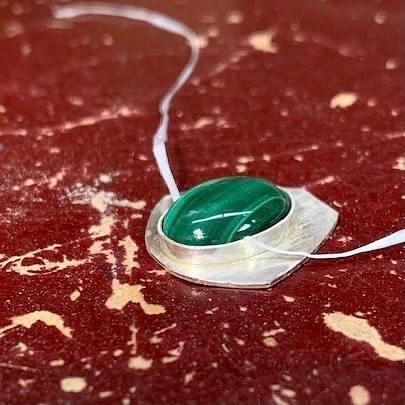


Here is a bezel tip from @wendyjonewmetaldesigns - "There are times when sanding down a bezel to the proper height of the stone is easier or makes more sense than cutting or filing. This is true for when the bezel you have is just a smidge taller than you need but you’re hesitant to cut it down too far. It’s particularly useful for varied walls heights on a single stone. Ovals often have lower end wall heights and irregularly shaped stones almost always have varied wall heights. First fabricate the bezel and solder down to backplate. You don’t have to solder it down to backplate first but it makes it much easier to hold when sanding. Place the stone in the bezel with dental floss underneath so you can take the stone out. With a scribe, lay the scribe on the stone with point facing into the bezel. The point naturally ends up in the proper spot if you let the scribe naturally follow the pitch of the stone. Scribe line into interior of bezel all the way around the stone being careful to not move the dental floss. Push hard so you will be able to see the scribe line when the stone is out. Using a snap-on sanding disc placed upside down on the mandrel, slowly start sanding down the excess bezel down to the scribed line. Be sure to continue dragging the sanding disc while it’s spinning so you gradually bring down the bezel rather than bringing it down too low at a single point. Once entire bezel is sanded down, gently rub needle file inside to flick off the flange of metal that will be on top interior from sanding—you don’t want this in the way when putting stone back in. Check bezel height by placing stone back in on top of dental floss. Continue this method if any adjustment is needed. Otherwise, continue on with fabrication and set the stone once done. " Thank you so much Wendy for taking the time to record your technique and share with us! Super helpful! You can also draw a line with sharpie instead of scribing it 😃 #bezeltips #properheightofbezel #makingsilverbezels