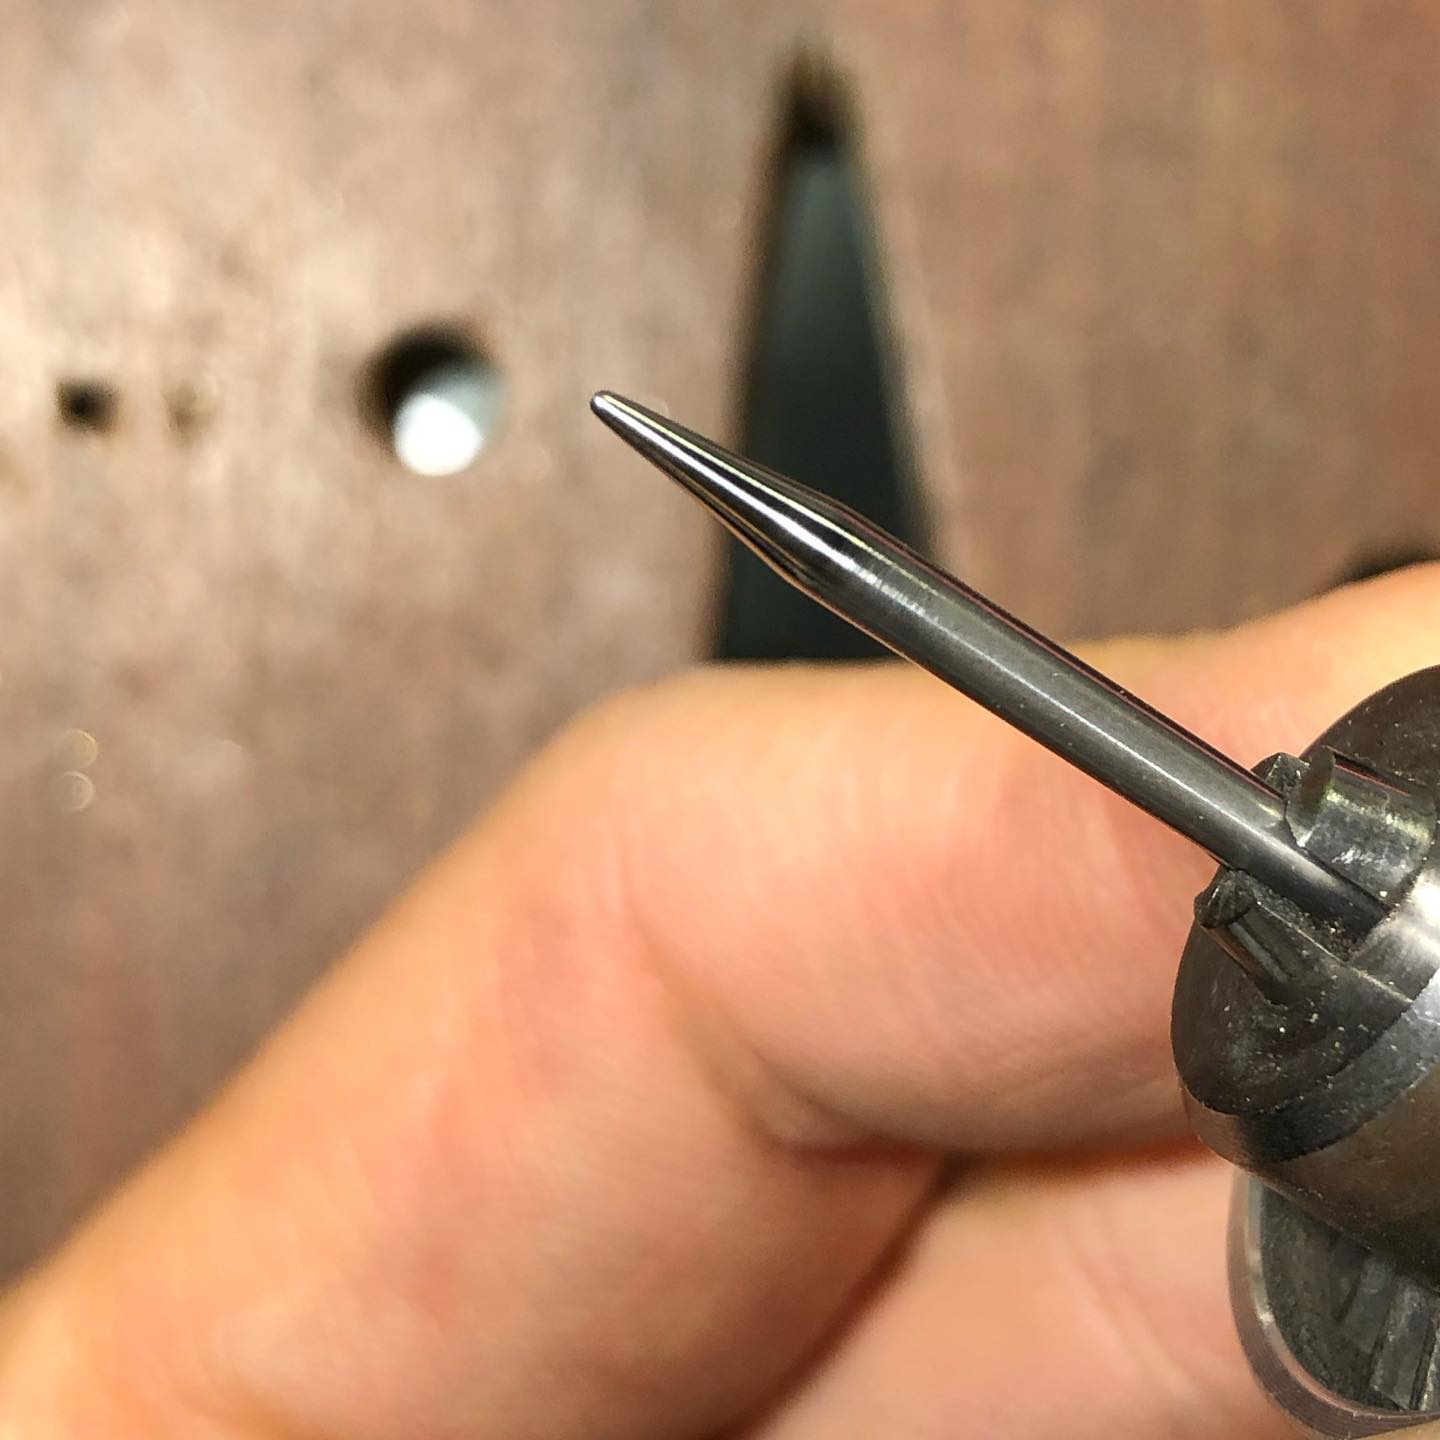
Here are some flush setting tips + #diy burnishing tool from - @estherkaojewelry - “I’ve always struggled with flush setting, but I recently discovered that having the right burnisher and knowing how to hold it has been a game changer.
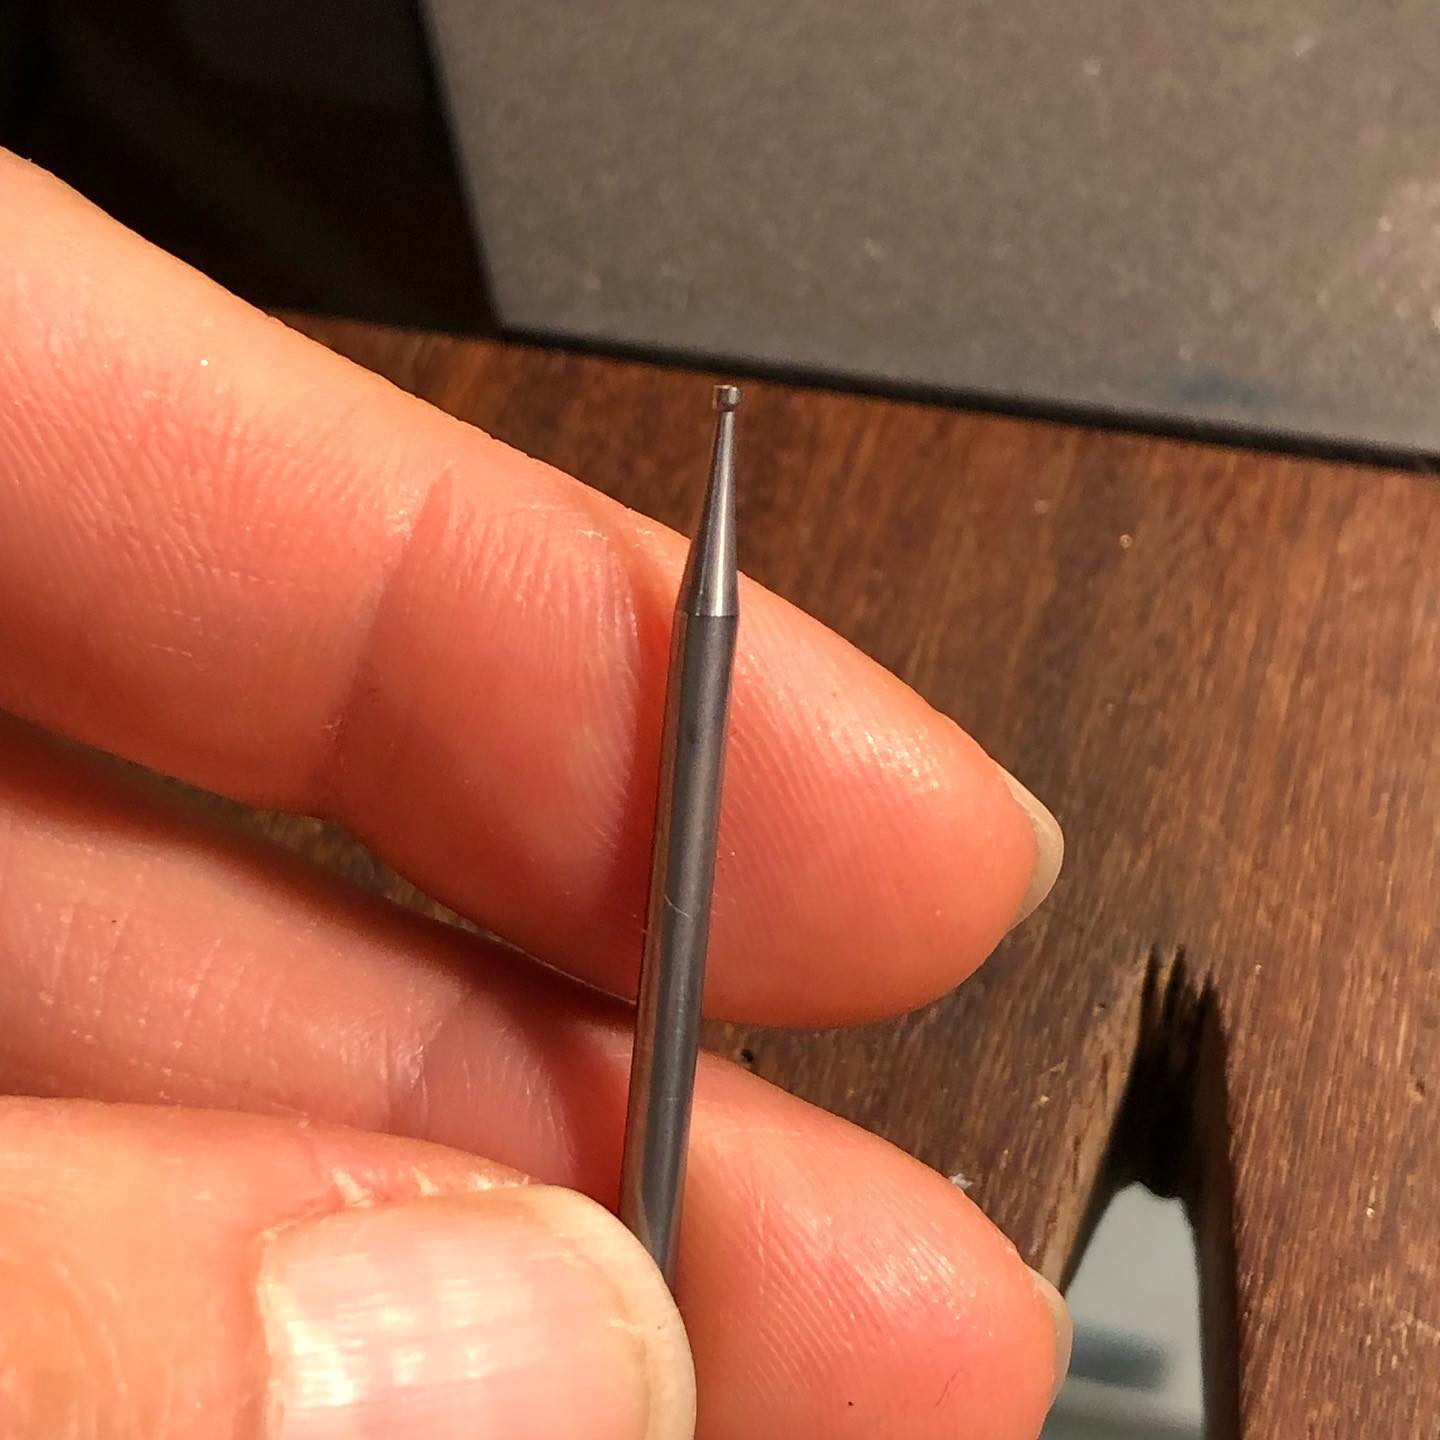
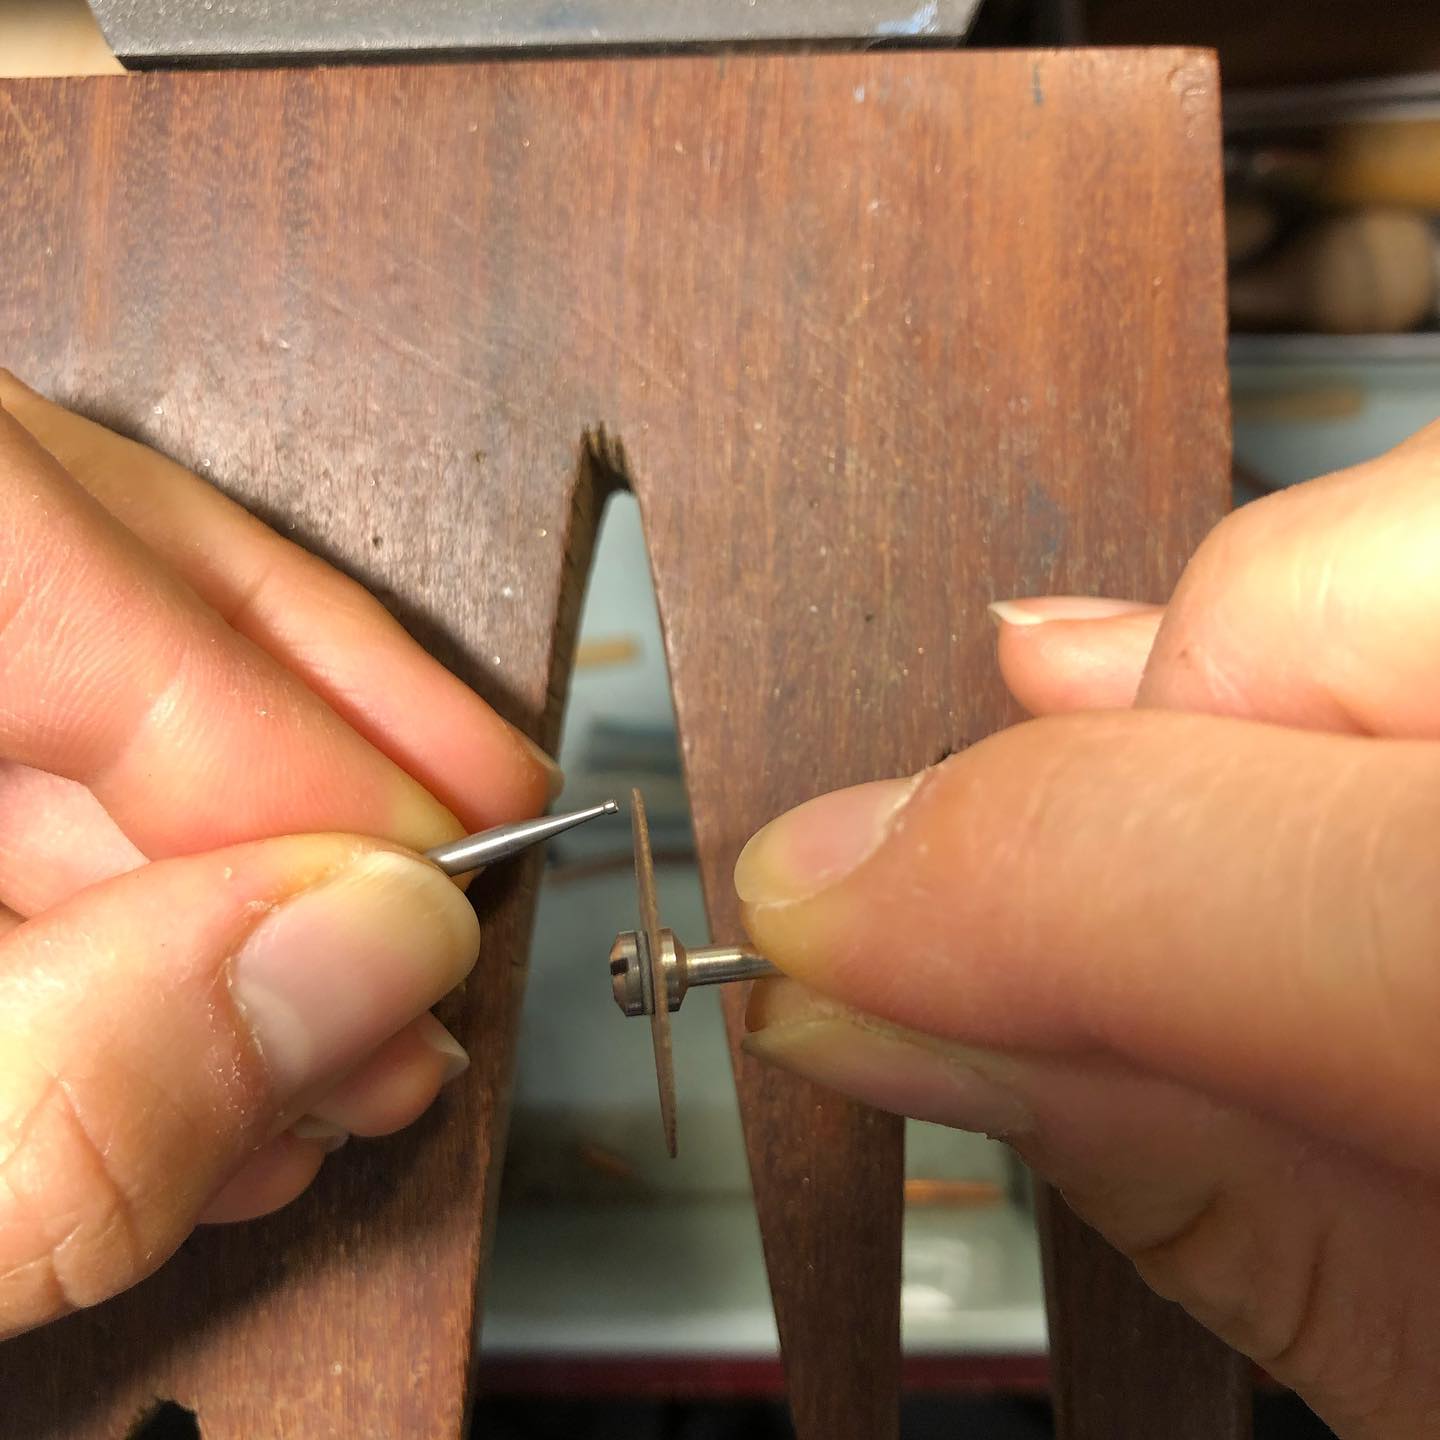
To make a mini burnisher, I take an old burr (ball, cup, setting, etc) and snap off the tip. This can be done with a separating disk (wear your safety goggles!), or you can use an old pair of pliers to just snap the bur part off.
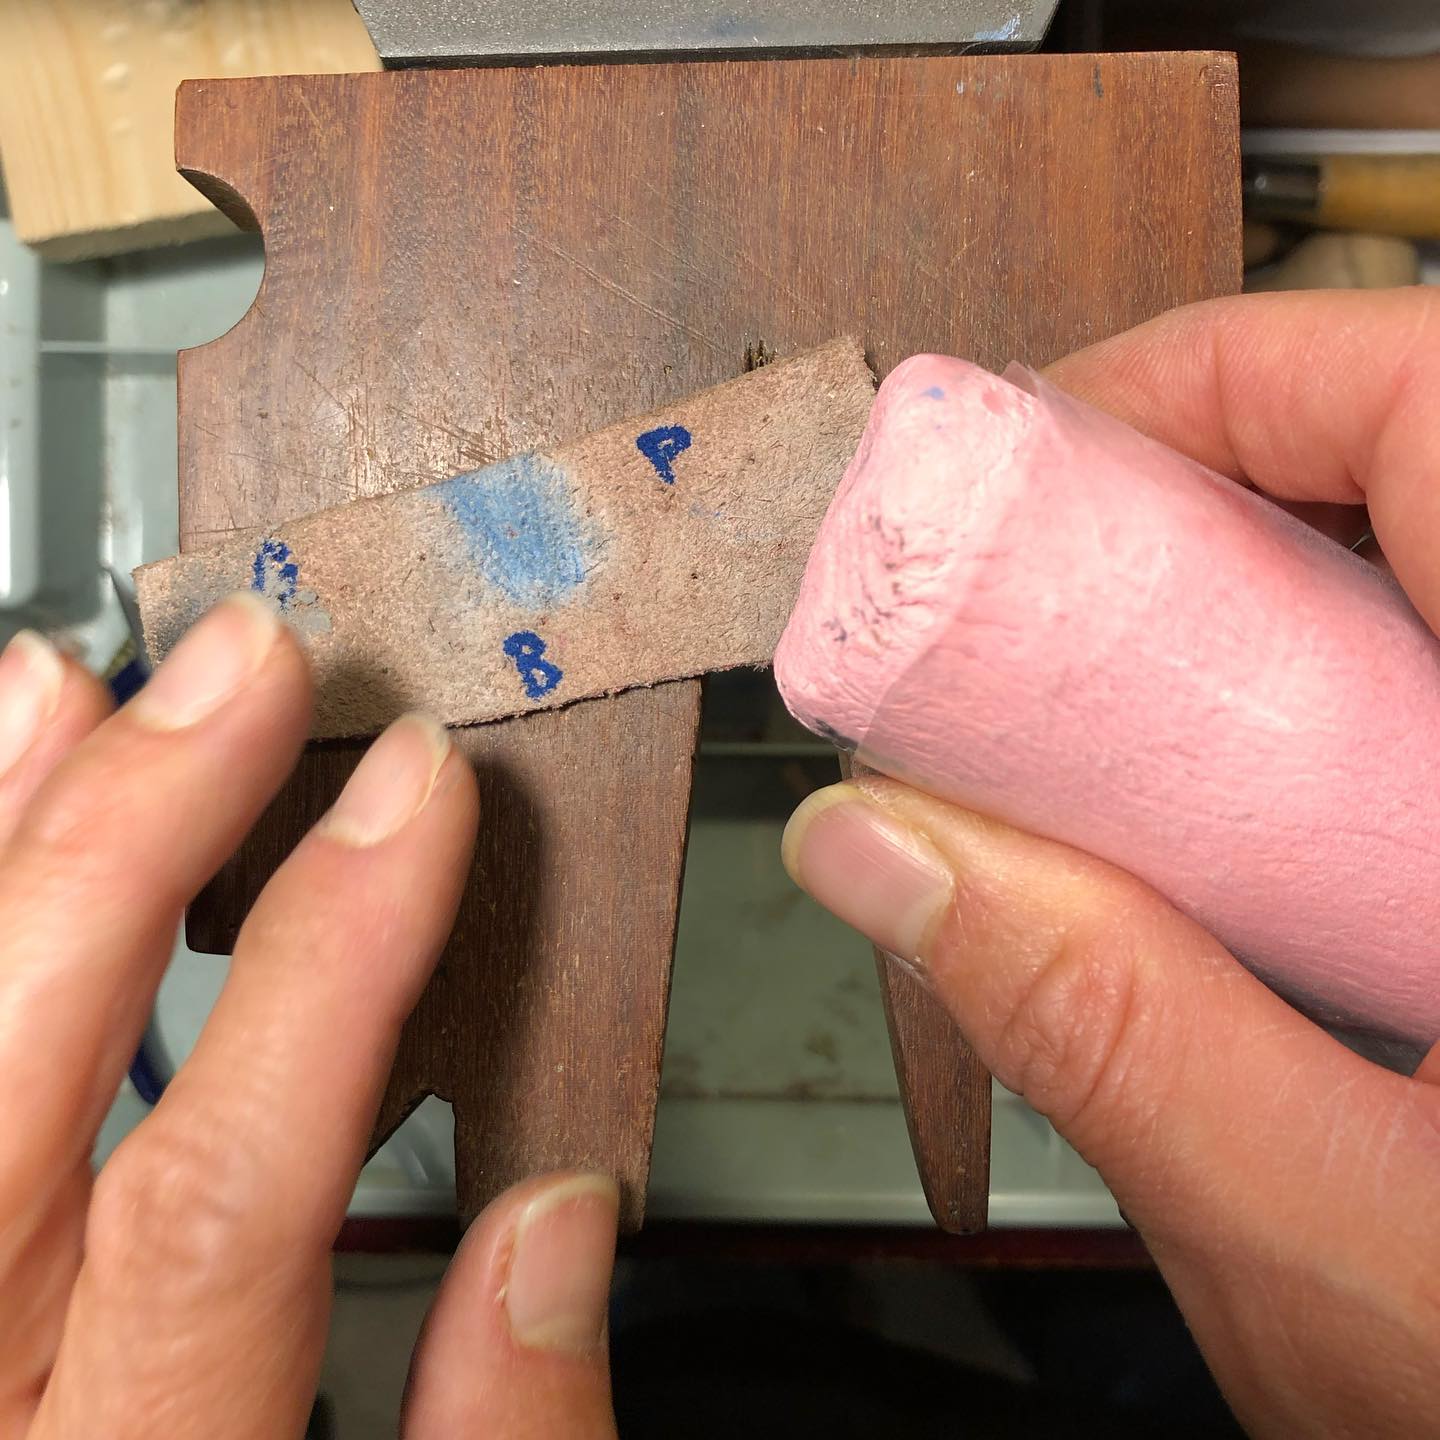
Then I put the bur into my flex shaft and shape the tip using sand paper on a hard surface. I go from coarse to fine, just like you would with polishing a piece of jewelry. And I make sure to shape the tip as I go. You want a tip that is rounded and not too pointy/sharp. I finish by running my bur over polishing compound that I’ve rubbed onto a piece of scrap leather.
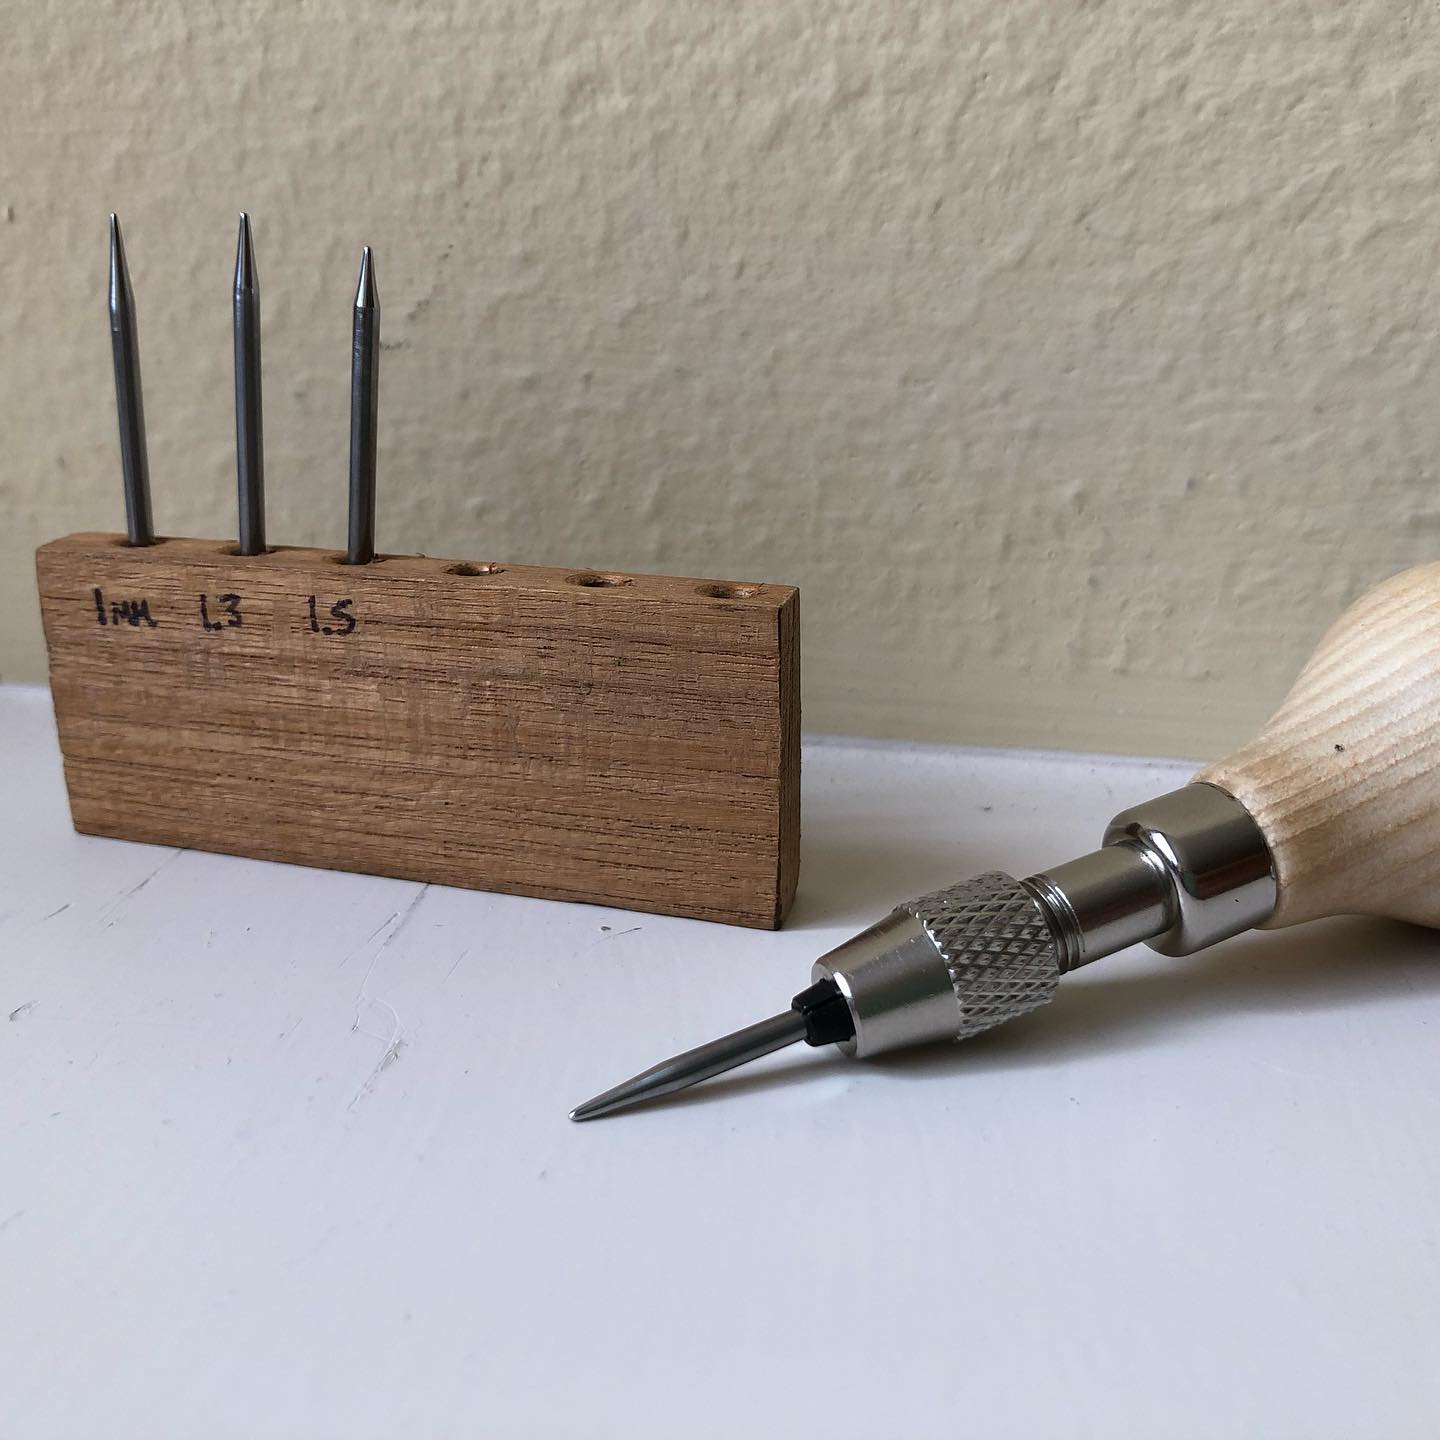
I’ve made several of these burnishers, and they each have taken under 30 minutes. I don’t know why I dragged my feet so long about that! I have a mill grain tool handle that I shuffle them through, depending on the size of the stone I need to set.
Once you get to setting the stone, I’ve found that holding the burnisher up and down like a pencil (but with your pointer finger pressing down on top of the tool handle) has really helped. It gives me the leverage I need to really push down and move the metal.” Esther THANK YOU. I love the idea of placing the broken bit in your flex shaft and rotating onto abrasives, I love the idea of making multiple sizes, I love the idea of holding them in the tool handle with chuck. I love the storage you created for them. This is great and we appreciate you! #flushsettingtools #flushsetting #gypsysetting #diyjewelrytools